Follow Me On Social Media!

Colorful Stained Glass Cookies Recipe: Easy, Irresistibly Fun!
Introduction to Colorful Stained Glass Cookies
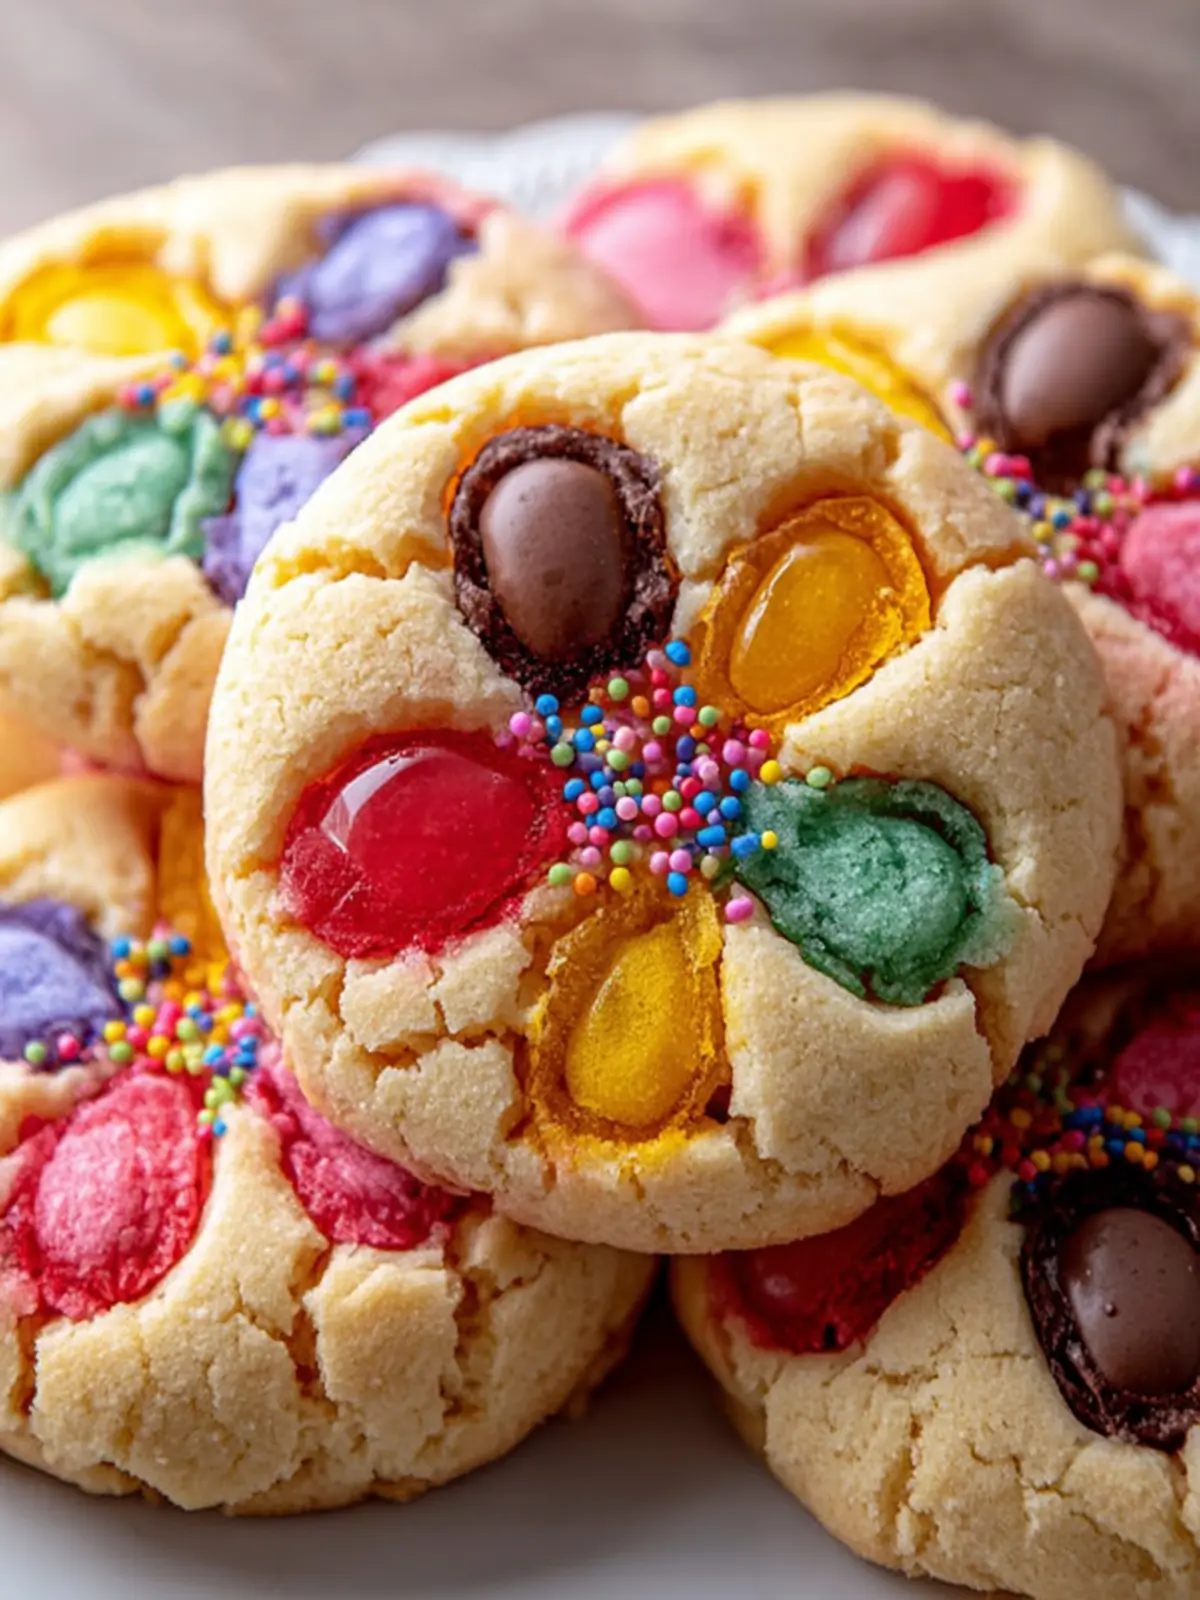
Imagine the delight of biting into a beautiful cookie that resembles a vibrant stained glass window—the Colorful Stained Glass Cookies bring this whimsical vision to life! With their dazzling hues and sweet crunch, these cookies not only taste exquisite but also add a playful touch to any gathering or celebration. Whether it’s for a festive occasion or just a fun baking endeavor, these cookies are sure to impress friends and family alike.
So what makes Colorful Stained Glass Cookies so special? For starters, these cookies are visually captivating. They are made with a simple sugar cookie base that showcases a colorful filling crafted from crushed hard candies. When baked, the candies melt, forming a stunning, transparent center that resembles stained glass. The combination of texture and flavor—soft and chewy on the outside, with a slight crunch from the sugar coating—creates a delightful experience with every bite.
Additionally, these cookies offer a unique opportunity to experiment with colors and flavors. You can use any combination of hard candies, allowing creativity to flow. Want to try classic flavors like cherry, lemon, and lime? Go for it! Or perhaps you’d like to mix in some raspberry or blue raspberry for a more modern twist? The choices are endless, and you’ll find that both kids and adults will love getting involved in the decorating process.
By following our Colorful Stained Glass Cookies Recipe, you’ll not only learn how to make these eye-catching treats but also create lasting memories in the kitchen. Baking together fosters a sense of togetherness and joy, and there’s something truly magical about measuring, mixing, and shaping dough into vibrant colors. These cookies can also become a family tradition—just what you need for your holiday cookie exchange or a weekend treat!
So, roll up your sleeves and get ready to bring some Colorful Stained Glass Cookies into your life; your sweet tooth will thank you!
Key Ingredients for Colorful Stained Glass Cookies
Baking Colorful Stained Glass Cookies is like creating edible art—each ingredient plays a vital role in achieving that unique, vibrant look and taste.
Flour: For these cookies, I prefer using all-purpose flour. Its balance between protein and starch yields a tender cookie that holds its shape beautifully. If you’re looking for a gluten-free option, a 1:1 gluten-free flour blend works just as well.
Butter: The star of the show! I always choose unsalted butter, as it allows me to control the saltiness of the dough. It adds a rich, creamy flavor that complements the sweetness perfectly.
Sugar: A blend of granulated sugar for sweetness and light brown sugar for a hint of caramel depth enhances the overall flavor of these cookies, making them irresistible.
Eggs: One large egg binds the ingredients and helps achieve that soft and chewy texture we all love in cookies.
Vanilla Extract: Pure vanilla extract is my go-to for a warm, inviting flavor that elevates the sweetness of the cookies.
Baking Powder: This ingredient ensures your cookies rise just right, creating that delightful texture that everyone craves.
Salt: A pinch of salt balances the sweetness and enhances the overall flavor profile, making each bite even more delightful.
Assorted Hard Candies: The final touch! Crushed hard candies not only provide the stunning stained glass effect but also add a burst of color and flavor. Choose your favorites—lollipops or Jolly Ranchers work beautifully!
With these simple yet essential ingredients, your journey into creating colorful stained glass cookies will be a rewarding and delicious one.
Why You’ll Love This Colorful Stained Glass Cookies Recipe
Imagine hosting a gathering where the main attraction isn’t just the food, but the Colorful Stained Glass Cookies that catch everyone’s eye. These delightful treats are as fun to create as they are to eat, making them the perfect addition to your baking repertoire.
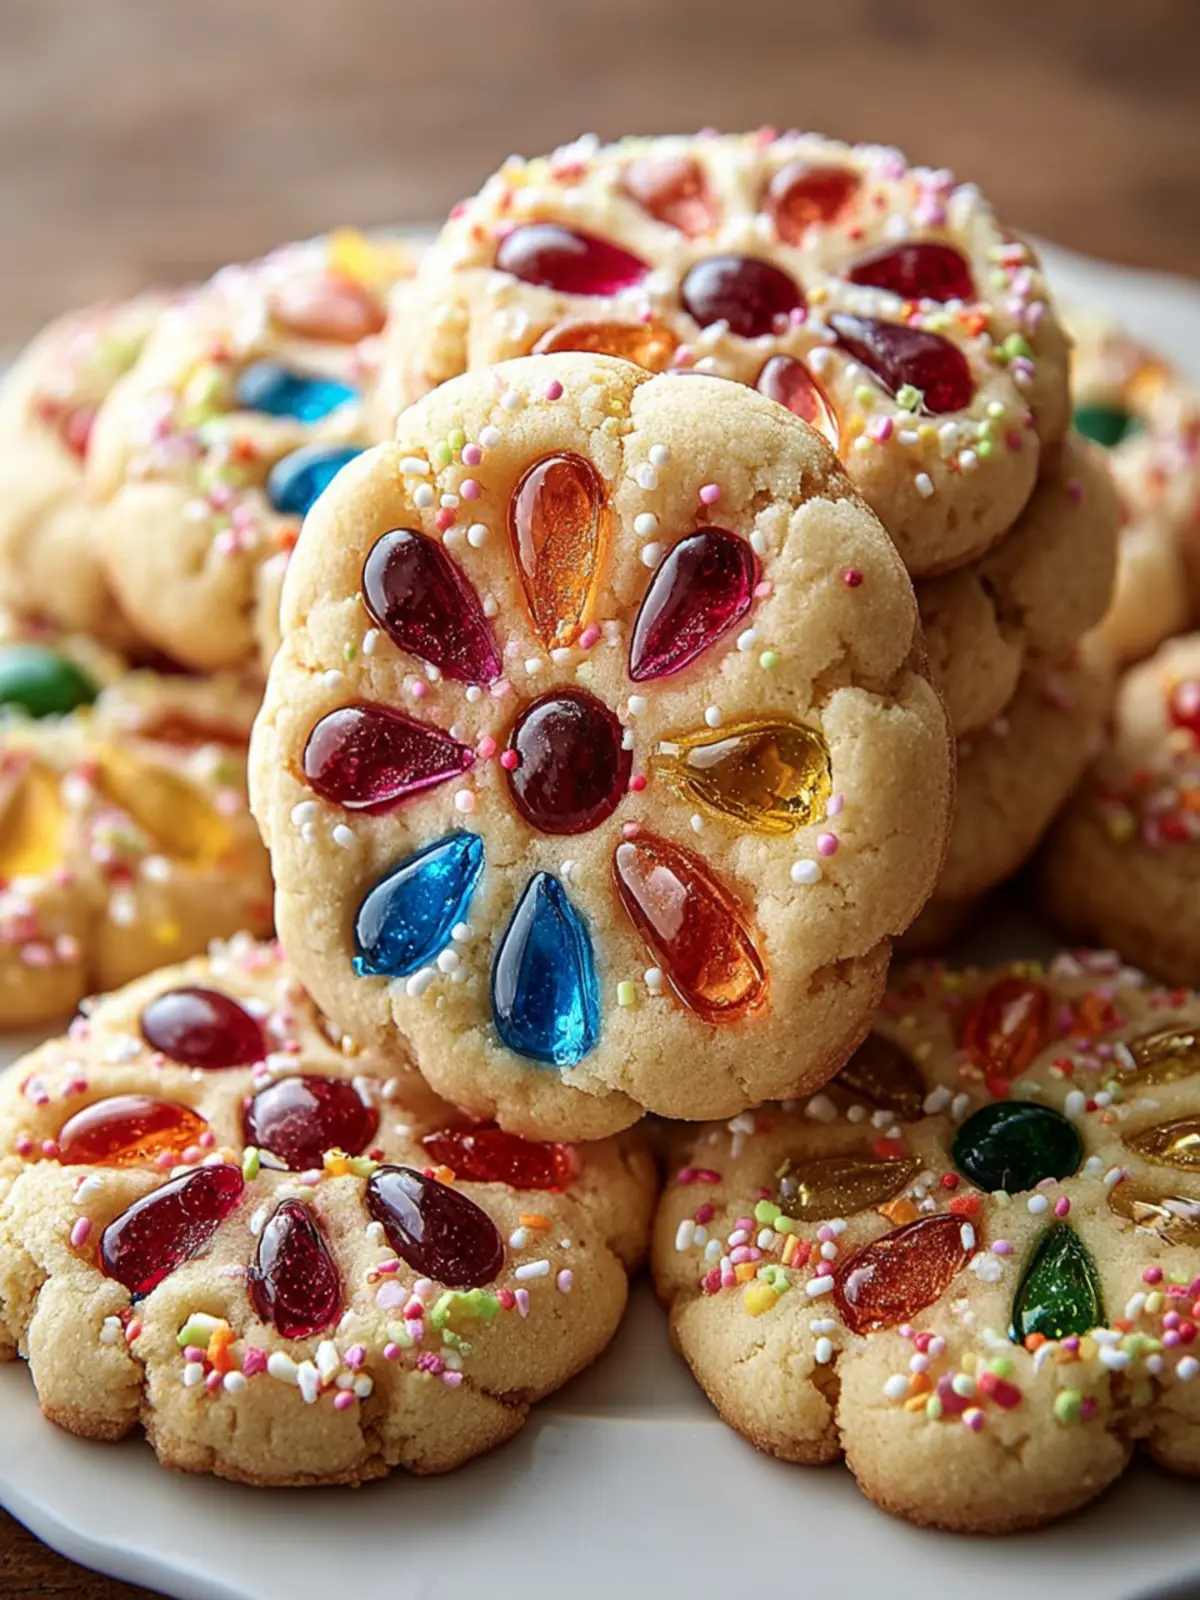
Unique Aesthetic Appeal: The mesmerizing stained glass effect, created by melting colorful candies in the center, transforms ordinary cookies into edible art. Each cookie tells a story of creativity and joy, perfect for sharing with friends and family.
Interactive Baking Experience: Baking these cookies is an adventure! Involve your friends, partner, or kids in the process. Everyone will appreciate the artistic aspect of design, choosing their colors and layouts to create cookie masterpieces.
Versatile for All Occasions: Whether it’s a holiday gathering, birthday party, or just a cozy weekend treat, this recipe adapts beautifully. Bring some festive cheer with red and green or a rainbow of hues for spring celebrations.
Deliciously Tasty: Not only do these cookies look incredible, but they also taste amazing. The buttery, sweet cookie base pairs perfectly with the fruity flavors of the melted candies, ensuring no one can resist these delightful bites.
Make memories while baking and enjoy the delicious flavors of this Colorful Stained Glass Cookies Recipe. You’ll love every moment spent creating and sharing these cookies!
Tips for Making Perfect Colorful Stained Glass Cookies
Crafting colorful stained glass cookies is not just about following the recipe; it’s an art form that invites creativity into your kitchen. By incorporating a few tips from my personal experience, you can elevate your cookie-making game to a whole new level.
Choose the Right Ingredients
- Butter: Use unsalted butter for better control over the flavor. A creamy, flavorful butter ensures a rich cookie that pairs wonderfully with the sweetness of the candy.
- Sugar: While granulated sugar is a must for sweetness, consider adding a touch of brown sugar. This will not only give you a nice chewiness but also enhance the flavor depth.
Get the Dough Temperature Just Right
When it comes to the dough for your colorful stained glass cookies, chilling it is key. Not only does it help the cookies maintain their shape, but it also makes rolling out a breeze. Aim for at least 30 minutes in the fridge.
Think About the Candies
Opt for clear candies like Jolly Ranchers or Life Savers to create those stunning stained glass effects. Crushing them can be therapeutic, but keep the pieces relatively small—think sand-sized for best melting results.
Watch the Baking Time
Every oven behaves differently, so keep a close eye on your cookies! Aim for a light golden edge while the center stays slightly soft. This allows the cookies to finish setting once cooled, ensuring maximum crunch with a chewy center.
With these tips in hand, your colorful stained glass cookies will not only shine brightly but also taste incredible. Happy baking!
Time Details for Colorful Stained Glass Cookies
Creating these delightful Colorful Stained Glass Cookies is a journey that’s as vibrant as the fun shapes you’ll cut out. With just the right timing, you’ll bake a batch that not only is pleasing to the eyes but also to the taste buds!
Preparation Time
The prep work for your Colorful Stained Glass Cookies Recipe takes about 30 minutes. This includes mixing your dough and cutting out those whimsical shapes to showcase your creativity.
Baking Time
Baking your cookies is a quick 10-to-12 minutes in the oven. Keep an eye on them to avoid overbaking, as you want them perfectly golden and your candy windows set!
Total Time
In total, you’re looking at around 45 minutes from start to finish. Perfect for a fun afternoon baking session that fills your kitchen with sweet aromas and a touch of magic!
Nutritional Information for Colorful Stained Glass Cookies
Understanding the nutritional information for Colorful Stained Glass Cookies gives you a clearer picture of this delightful treat. These cookies are not only a feast for the eyes but can also fit into a balanced diet when enjoyed in moderation.
Calories
On average, each cookie contains about 150 calories, making them a sweet indulgence without overwhelming your daily intake.
Protein
You’ll find around 2 grams of protein per cookie. While these cookies aren’t a major protein source, they can be a fun addition to your snack rotation!
Sodium
With roughly 50 milligrams of sodium per serving, these cookies are relatively low in salt, allowing you to enjoy a sweet treat without worrying too much about your sodium intake.
To create these colorful and imaginative cookies, be sure to follow the Colorful Stained Glass Cookies Recipe for the best results while keeping an eye on your nutritional balance!
FAQs about Colorful Stained Glass Cookies
Making beautiful Colorful Stained Glass Cookies can spark a lot of questions, especially if it’s your first time baking them. Here are some common inquiries to guide you through the process.
How can I get the candy to melt properly?
Achieving that perfect melted candy center in your Colorful Stained Glass Cookies Recipe is simpler than you might think. Start by using crushed hard candies, as they melt evenly. Consider the following tips:
- Crushing: Ensure your candies are crushed into small, even pieces to promote uniform melting.
- Temperature: Bake your cookies at the suggested temperature, usually around 350°F (175°C). Keep an eye on them as they cook—the candy will melt in just a few minutes.
- Cooling: Let the cookies cool completely before moving them. This will allow the melted candy to solidify beautifully, creating that stunning stained-glass effect.
What variations can I try with this cookie recipe?
The basic Colorful Stained Glass Cookies Recipe is versatile! Here are some exciting variations to explore:
- Flavorings: Experiment with almond or lemon extract for extra flavor.
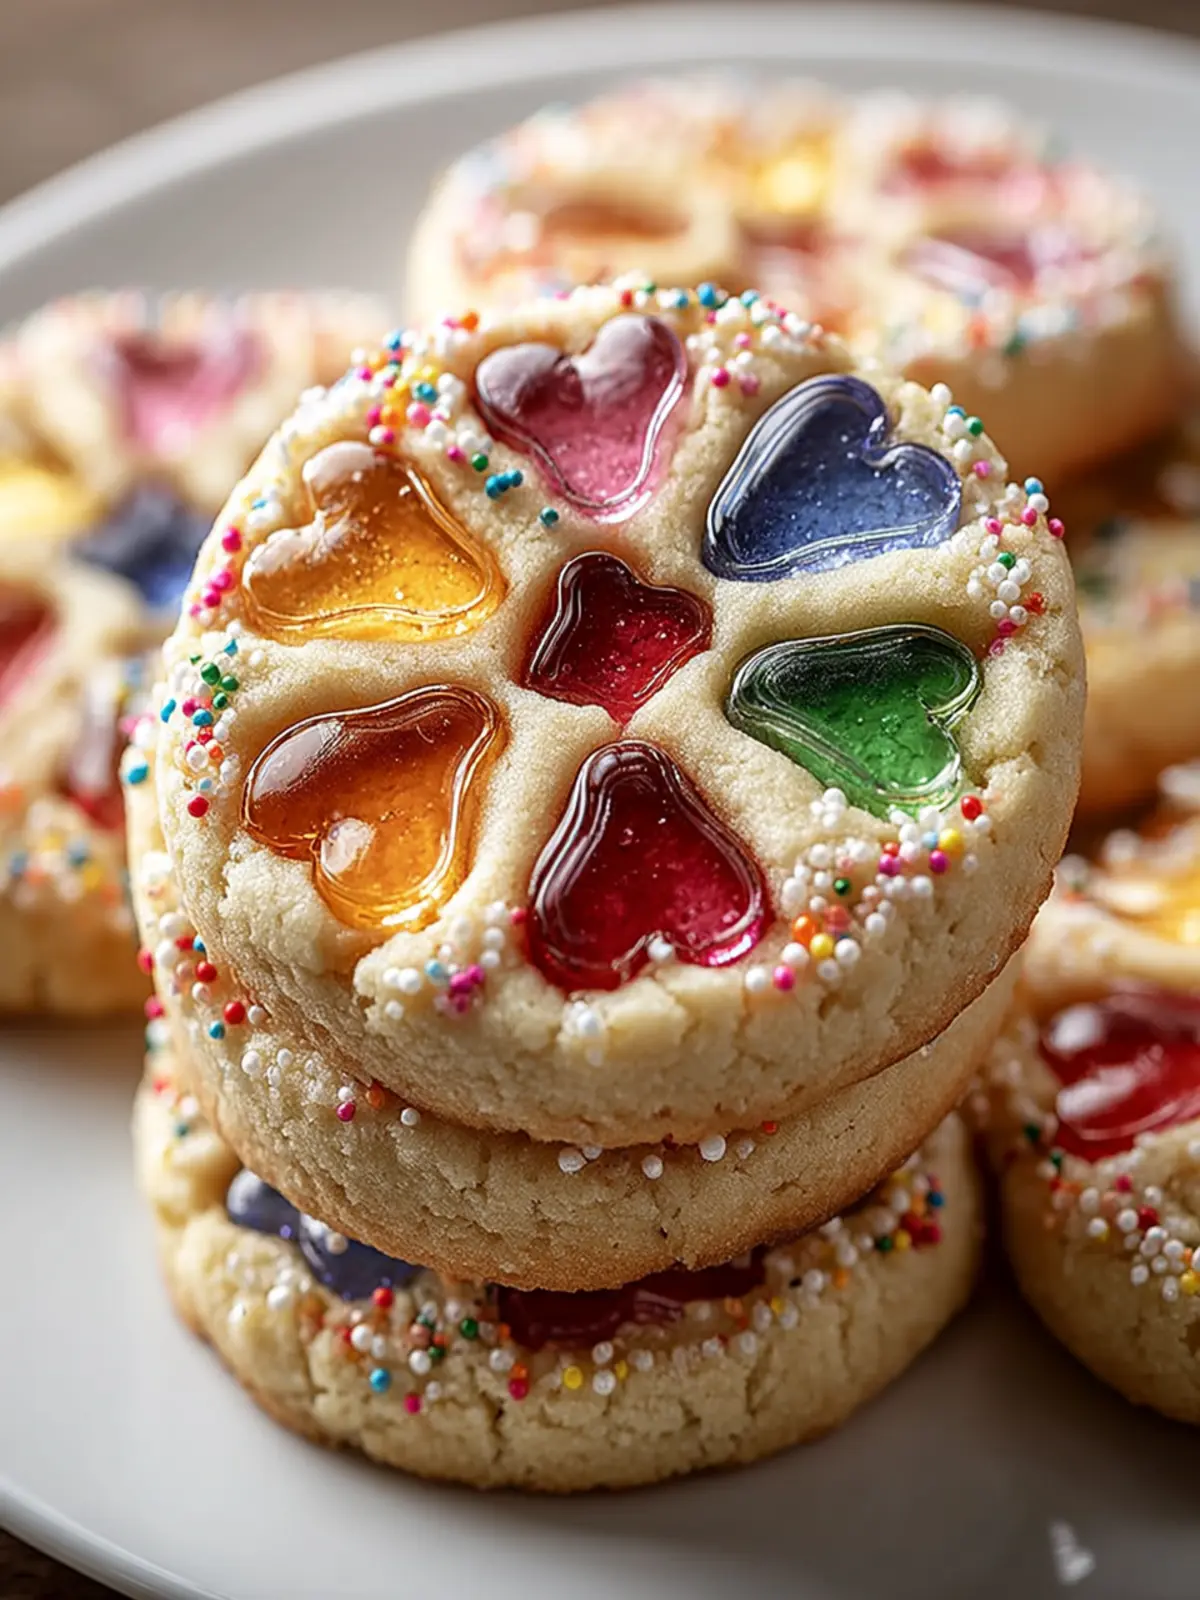
- Cut-out Shapes: Use seasonal cookie cutters to reflect different holidays, such as hearts for Valentine’s Day or stars for Christmas.
- Different Candies: Swap out traditional candies for fruity ones or even pastel-colored candies for a softer look.
How do I store these cookies to maintain their freshness?
Storing your Colorful Stained Glass Cookies properly is key to keeping them fresh and tasty. Follow these storage tips:
- Airtight Containers: Store them in a single layer in an airtight container to prevent any breaking.
- Cool, Dark Place: Keep them in a cool, dark area to avoid exposure to sunlight, which can fade the colors.
- Short-term vs. Long-term: For short-term storage, they can last up to a week at room temperature. For longer storage, consider freezing them, which can keep them fresh for up to three months.
With these FAQs, you’re all set to whip up a dazzling batch of Colorful Stained Glass Cookies that will wow your friends and family!
Conclusion on Colorful Stained Glass Cookies
In wrapping up our adventure with the Colorful Stained Glass Cookies Recipe, it’s clear these delightful treats are more than just visually appealing; they’re a heartfelt addition to any festive occasion. Imagine pulling these gems from the oven, each cookie shining with vibrant hues, creating a mosaic of color that’s bound to brighten any dessert table. Not only do they taste fantastic, but the process of making them can also bring joy and creativity to your kitchen. Whether shared with loved ones or enjoying a quiet moment with a cup of tea, these cookies are sure to create sweet memories that linger long after the last bite.
Print
Colorful Stained Glass Cookies Recipe
- Total Time: 40-42 minutes
- Yield: approximately 24 cookies 1x
- Diet: Vegetarian
Description
A delicious and creative recipe for colorful stained glass cookies, perfect for festive occasions.
Ingredients
Scale
- 2 ½ cups all-purpose flour
- 1 cup unsalted butter (softened)
- 1 cup granulated sugar
- 2 large eggs
- 1 teaspoon pure vanilla extract
- 1 teaspoon baking powder
- ½ teaspoon salt
- 1 cup assorted hard candies (like Jolly Ranchers, crushed)
- powdered sugar (optional, for dusting)
Instructions
- Preparation:
- Preheat your oven to 350°F (175°C).
- Line baking sheets with parchment paper or silicone mats.
- Making the Dough:
- In a large bowl, beat the softened butter and granulated sugar together until light and fluffy.
- Add the eggs one at a time, mixing well after each addition.
- Stir in the vanilla extract.
- In a separate bowl, whisk together the flour, baking powder, and salt.
- Gradually mix the dry ingredients into the wet ingredients until combined. The dough should be soft but manageable.
- Shaping the Cookies:
- Roll out the dough on a lightly floured surface to about ¼ inch thickness.
- Use a large cookie cutter to cut out shapes and a smaller cutter to cut out shapes within the larger shapes to create windows.
- Filling the Windows:
- Place the cut-out cookies on the prepared baking sheets.
- Fill the cut-out windows with crushed hard candies, using different colors for a stained glass effect.
- Baking:
- Bake in the preheated oven for 10-12 minutes, or until the cookies are lightly golden and the candy has melted.
- Let the cookies cool completely on the baking sheets to allow the candy to harden.
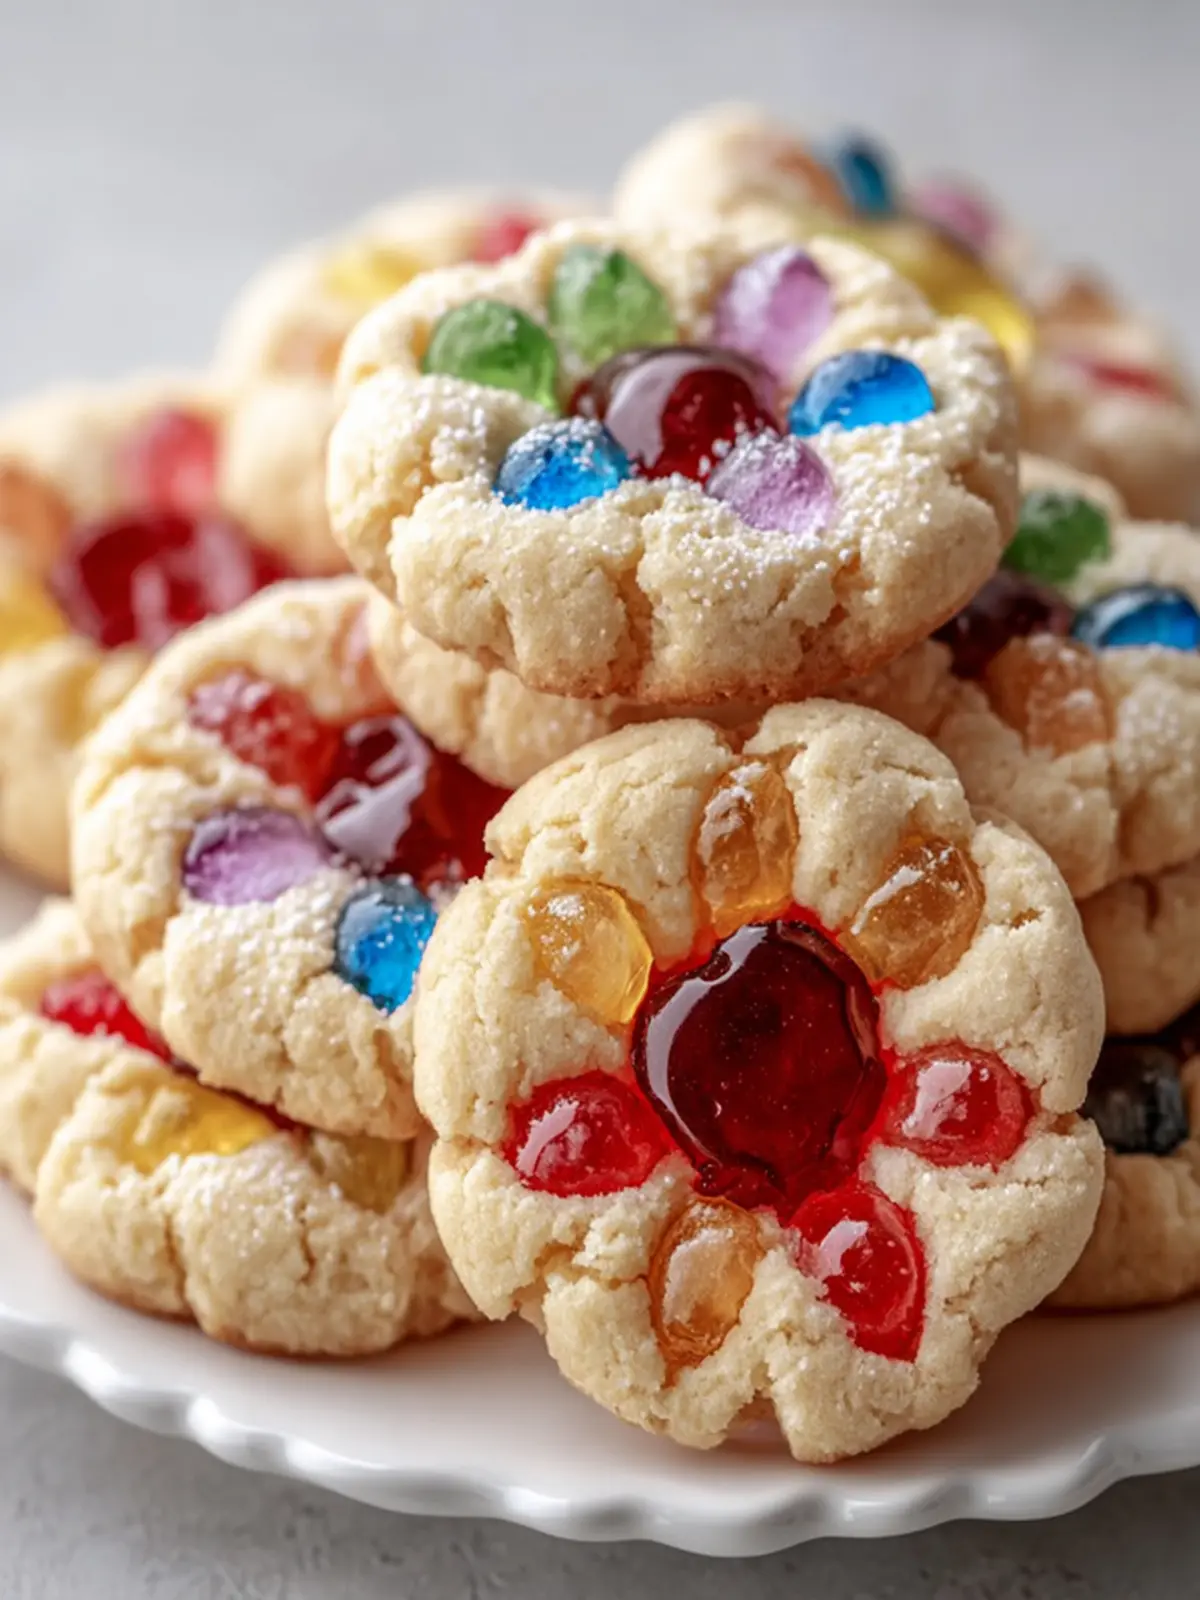
- Final Touches:
- Once cooled, dust with powdered sugar if desired.
Notes
- For more vibrant stained glass effects, use bright colored candies and ensure they are finely crushed.
- To achieve even cookies, roll the dough evenly and chill it for about 15 minutes if it becomes too soft to work with.
- Store cookies in a cool, dry place to maintain the candy effect.
- Experiment with different shapes and patterns for a variety of festive looks.
- Prep Time: 30 minutes
- Cook Time: 10-12 minutes per batch
- Category: Dessert
- Method: Baking
- Cuisine: American