Follow Me On Social Media!

Christmas Tree Cake: Easy, Festive Delight for Cheerful Holidays
Introduction to Christmas Tree Cake
The Christmas tree cake has become a cherished holiday tradition, bringing a festive flair to celebrations and gatherings everywhere. This delightful creation is not just a dessert; it’s a centerpiece that encapsulates the joy of the season. Picture this: a group of friends or family gathered around the table, laughter bubbling as everyone savors each slice. It’s a memory in the making, and that’s where the magic of the Christmas tree cake truly shines.
Why a Christmas Tree Cake is a Holiday Favorite
So, what makes the Christmas tree cake a beloved treat during the holiday season? For one, it taps into the nostalgia of childhood, echoing the excitement of decorating the family Christmas tree. The vibrant green frosting, adorned with colorful candies and edible decorations, practically screams “festive!” It’s an eye-catching display that delights both kids and adults alike.
Moreover, the process of making a Christmas tree cake is a perfect opportunity to bond with loved ones. Imagine gathering in the kitchen, cake batter flying and laughter echoing as you craft the cake together. Whether you’re meticulously icing each branch of the tree or arranging the candy ornaments, every step is infused with warmth and cheer.
Another reason this cake stands out is its versatility. You can tailor the flavors to suit your family’s preferences, be it vanilla, chocolate, or even red velvet. The addition of rich frosting elevates it to a level of indulgence that feels just right for the holidays.
Finally, there’s an element of simplicity that appeals to many bakers out there. The basic recipe can be adjusted based on your skill level and time constraints, making it accessible for all. That’s what keeps the Christmas tree cake a constant on holiday dessert tables — it welcomes creativity, offers a platform for making unforgettable memories, and most importantly, it’s downright delicious.
So, whether you’re hosting a festive gathering or simply treating yourself, the Christmas tree cake is bound to bring joy and sweetness to your holiday season.
Key Ingredients for Christmas Tree Cake
Creating a Christmas tree cake is about more than just following a recipe; it’s about the joy of bringing festive flavors and decorations together into one delightful treat. Gather around as we explore the essential ingredients that will help you craft a visually stunning and delicious cake that captures the essence of the holiday season.
-
Cake Mix: For a quick and tasty base, I typically use a boxed cake mix. It offers convenience without sacrificing flavor. Yellow or white cake mixes work wonderfully, providing a light and fluffy texture.
-
Eggs: These are essential for binding. I find that using large eggs ensures the cake rises beautifully and has a slightly tender crumb.
-
Vegetable Oil: Adding oil instead of butter keeps the cake moist and gives it an irresistible richness. It’s an ingredient that often surprises people with its difference in texture.
-
Milk: This adds moisture and enhances the flavor profile. Whole milk is preferable, as it contributes to a richer taste.
-
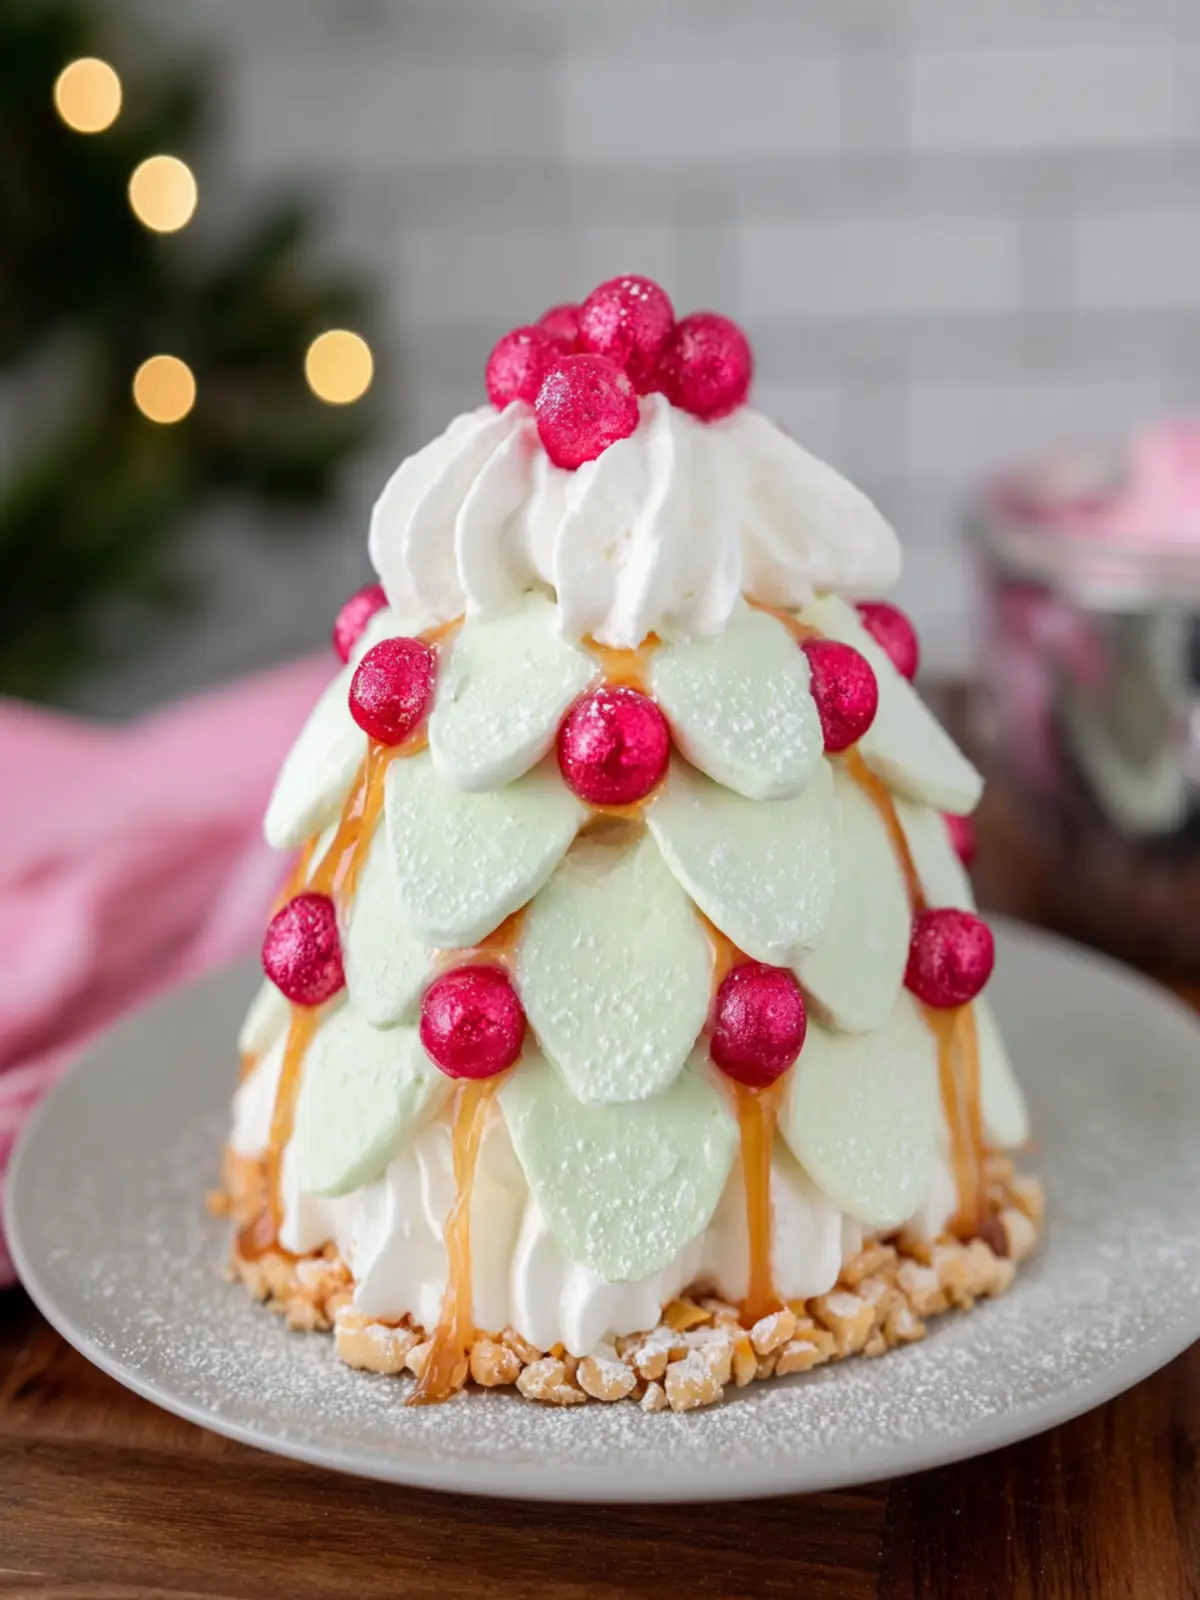
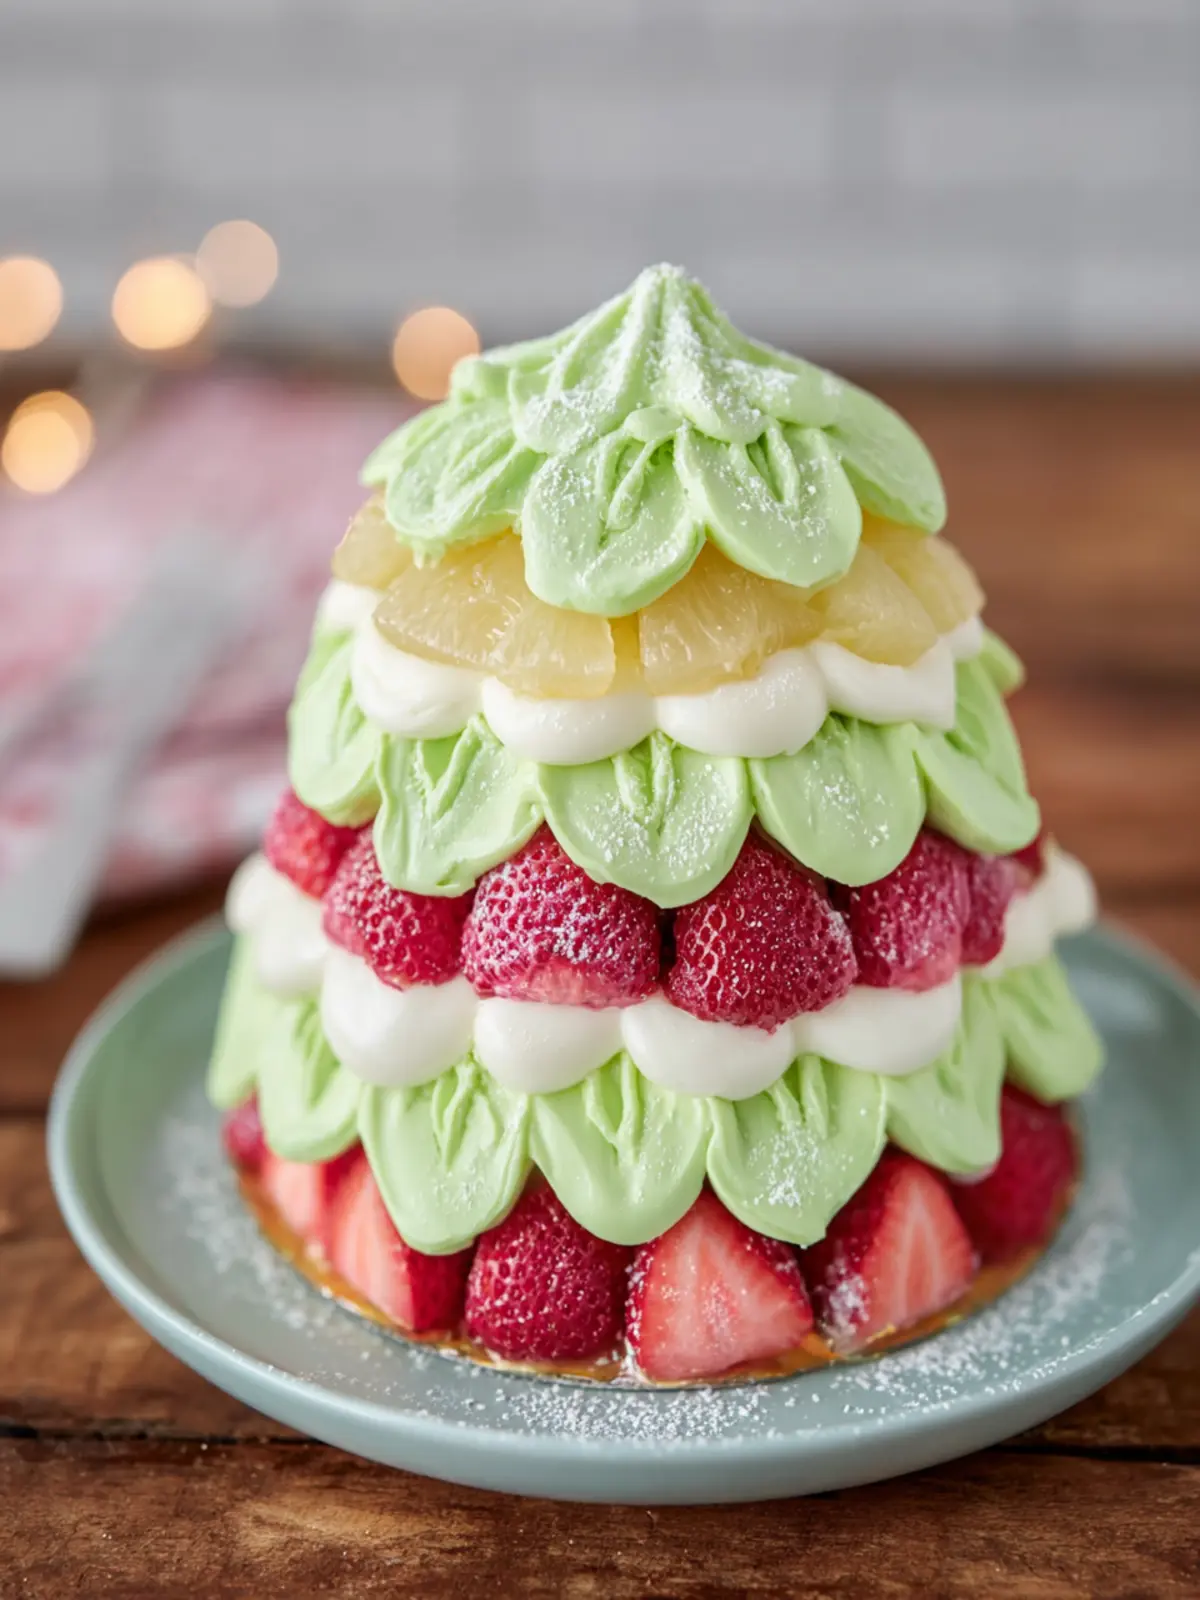
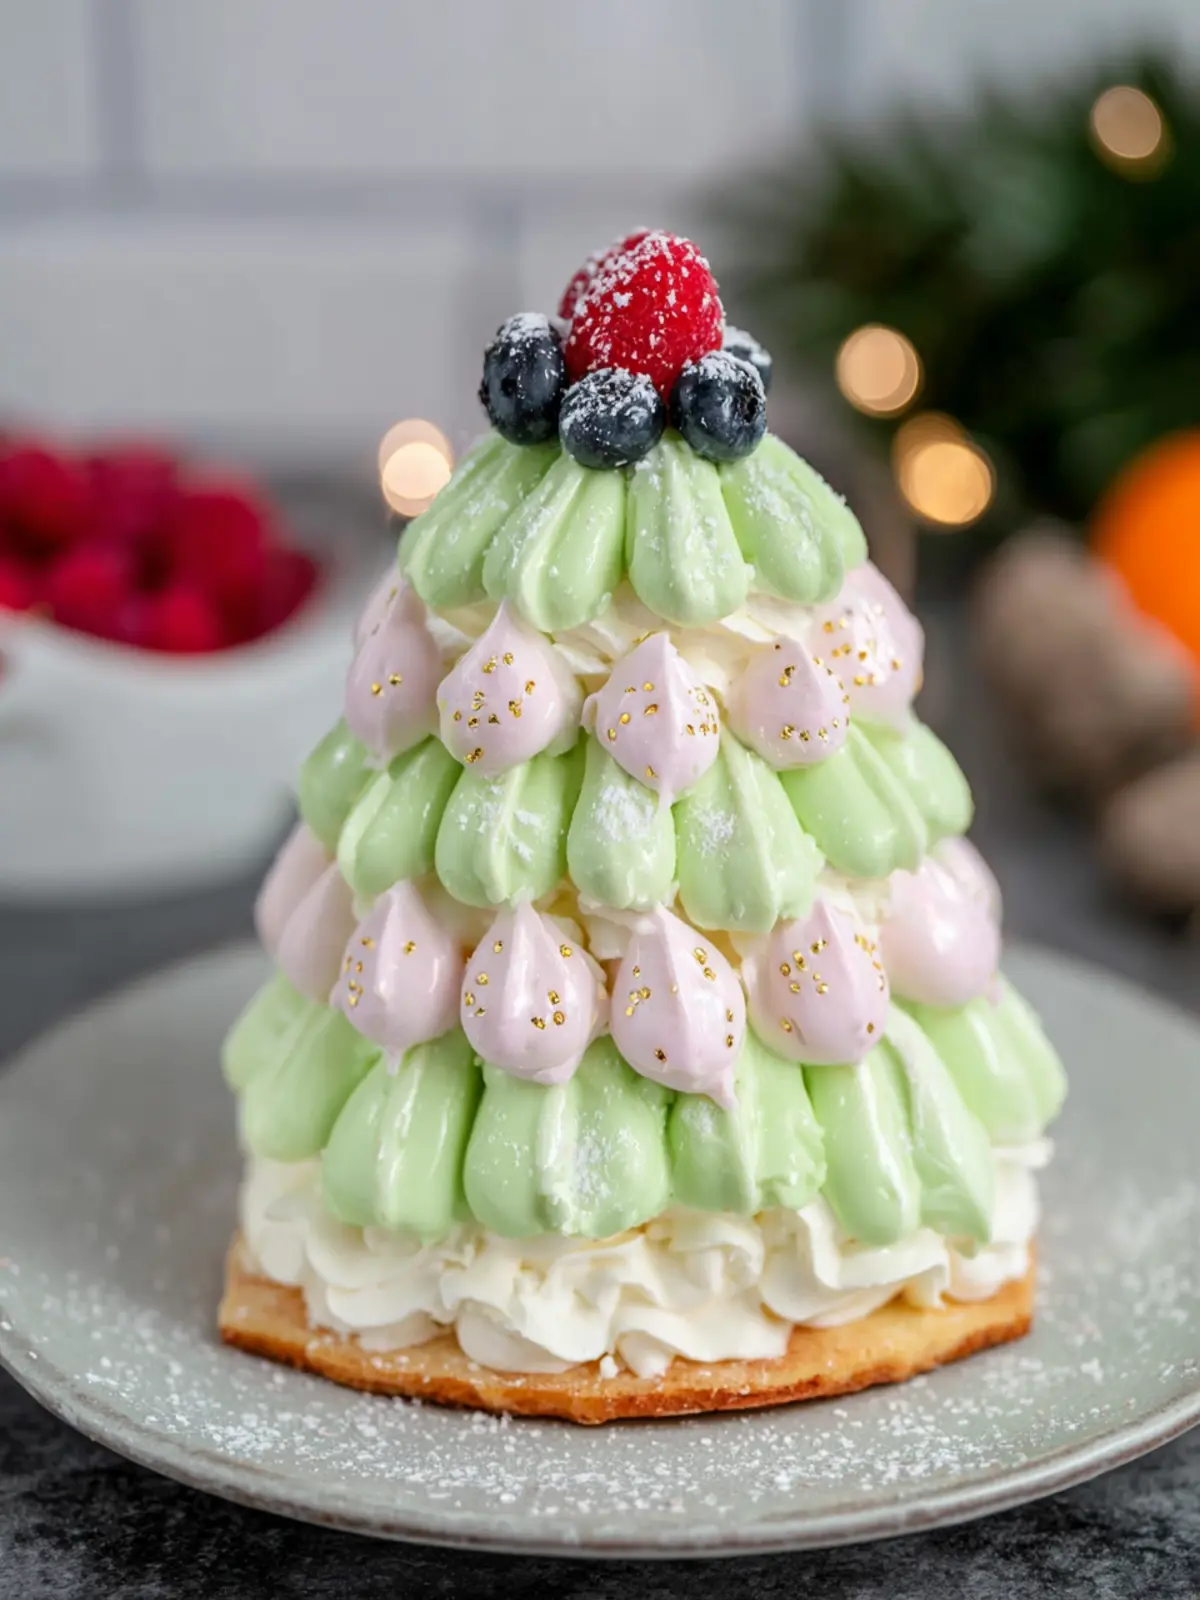
Green Food Coloring: The star of the show for this Christmas tree cake! Just a few drops transform the simple frosting into a vibrant green that mimics freshly trimmed pine.
-
Frosting: I like to use cream cheese frosting for its tanginess, which balances the sweetness of the cake. It’s spreadable, holds up well, and adds appealing creaminess to each slice.
-
Decorations: Think of mini candies, sprinkles, or even edible glitter to add sparkle and festive cheer!
With these ingredients in hand, you’re one step closer to baking a Christmas tree cake that will wow your friends and family this holiday season!
Why You’ll Love This Christmas Tree Cake
The Christmas tree cake is more than just a dessert; it’s an experience that brings an extra dose of joy to your holiday celebrations. Imagine gathering around the table with family and friends, the lights twinkling, and this stunning cake taking center stage. It’s a dessert that doesn’t just taste great but also acts as a beautiful decoration that captures the spirit of the season.
A Festive Centerpiece for Holiday Gatherings
Whether you’re hosting a cozy get-together or a grand holiday party, the Christmas tree cake becomes a conversation starter. Its vibrant green icing, decorated with colorful candies, mimics the charm of a lush pine tree and adds a festive flair to any gathering.
- Visual Appeal: The cake’s striking design is sure to impress guests, creating lasting memories over shared slices and laughter.
- Customizable Toppings: You can easily personalize this cake with your favorite candies or decorations, making it a fun project for you and your loved ones.
- Delicious Flavor: With every bite, you’ll enjoy a soft, moist cake complemented by rich frosting that captures the essence of the holiday season.
This cake not only delights the taste buds but also embodies the warmth and joy of the holidays—making it a must-have treat this Christmas!
Tips for Making the Perfect Christmas Tree Cake
Creating a Christmas tree cake that’s not only festive but also delicious can feel like a culinary adventure. Here are some handy tips to help you elevate your cake-making game this holiday season.
Key Techniques for Frosting and Decoration
-
Choose the Right Frosting: For a Christmas tree cake, a buttercream frosting is perfect due to its smooth texture and ability to hold shapes. Consider using a mixture of green food coloring to achieve that lovely evergreen hue.
-
Layering is Key: Ensure that each layer of your cake is level before stacking. Use a serrated knife to gently trim the top of each layer for an even finish. A stable base makes all the difference.
-
Piping Perfection: When piping the branches onto your cake, use a star tip for a textured look that mimics the festive look of a real tree. Practice on parchment paper to perfect your technique!
-
Add Texture and Fun: Incorporate edible decorations like candy canes or chocolate ornaments to give your cake personality. A sprinkle of edible glitter can also add some holiday sparkle.
-
Cool and Rest: Always allow your cake layers to cool completely before frosting. A warm cake can melt the frosting and ruin your beautiful design.
Crafting the perfect Christmas tree cake is a delightful process. By following these tips, you can create a centerpiece that not only tastes great but also brings joy to your holiday celebrations.
Time Details for Christmas Tree Cake
Making a delightful Christmas tree cake doesn’t just showcase your baking skills; it also adds a whimsical touch to your festive celebrations! Let’s break down the time it takes to prepare this lovely treat so you can plan accordingly and enjoy the process.
Preparation Time
In just about 30 minutes, you can gather your ingredients and whip up the batter for your Christmas tree cake. This involves measuring, mixing, and getting everything ready for the oven.
Baking Time
Once you’ve prepped, you’ll bake the cake for about 25-30 minutes. Keep an eye on it; the aroma wafting through your kitchen will have everyone buzzing with excitement!
Total Time
Overall, from preparing to serving, you’re looking at around an hour of dedicated time to create this festive masterpiece. It’s a small time investment for a cake that’s sure to bring smiles all around!
Nutritional Information for Christmas Tree Cake
When creating your festive Christmas tree cake, it’s important to balance indulgence with nutrition. This holiday delight can be enjoyed in moderation while still being mindful of its nutritional content. Here’s a quick glance at what your slice contains.
Calories
Each serving of this delicious Christmas tree cake typically contains around 250-300 calories, offering a delightful treat without overwhelming your daily intake.
Protein
You can expect to find about 3-4 grams of protein per serving. While this isn’t a primary source of protein, it does add a little boost to your dessert experience.
Sodium
With an estimated sodium content of 200-250 mg per slice, this cake is relatively safe for those monitoring their salt intake during the holiday season. Just remember to complement your cake with heart-healthy options at the dinner table!
By being aware of these nutritional aspects, you can savor your Christmas tree cake guilt-free amidst all the holiday festivities!
FAQs about Christmas Tree Cake
When you bake a Christmas tree cake, it becomes more than just a dessert; it transforms into a centerpiece that evokes festive joy and nostalgia. Wondering about specifics? Let’s dive into some common questions!
Can I make this cake ahead of time?
Absolutely, making your Christmas tree cake ahead of time is not only possible, but it can also help you save time on the big day. You can bake the cake layers up to two days in advance. Once baked, let them cool and wrap them tightly in plastic wrap to keep them fresh. When you’re ready to assemble, simply frost and decorate your cake. This also allows the flavors to meld beautifully!
What are some variations I can try?
The beauty of a Christmas tree cake is its versatility! Here are a few creative variations:
- Flavored Cakes: Experiment with different cake flavors like chocolate, vanilla, or even a spice cake for a seasonal twist.
- Fillings: Consider adding layers of raspberry jam, chocolate mousse, or cream cheese frosting between the cake layers.
- Decorations: Use colorful sprinkles, edible glitter, or even fresh fruits to adorn your cake for a personalized touch.
How do I store leftover cake?
Storing any leftover pieces of your Christmas tree cake is straightforward. Place them in an airtight container at room temperature for up to three days. If you want to keep it fresh for a longer time, you can refrigerate it for up to a week. For extreme freshness, wrap slices in plastic wrap and place them in the freezer; they can last up to three months! Just remember to let it thaw in the fridge for a few hours before enjoying those festive flavors again.
Conclusion on Christmas Tree Cake
The Christmas tree cake is not just a dessert; it’s a delightful centerpiece that brings vibrant holiday cheer to any table. As you slice into its layers, each bite captures the essence of festive flavors. Whether you choose to decorate it simply or go all out with sprinkles and stars, this cake is bound to spark joy among family and friends. Memories are created around the kitchen table, and sharing this Christmas tree cake can become a cherished tradition. So, gather your loved ones, bake this sweet treat together, and let the holiday spirit shine as bright as your cake!
Print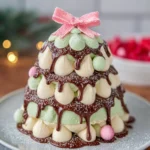
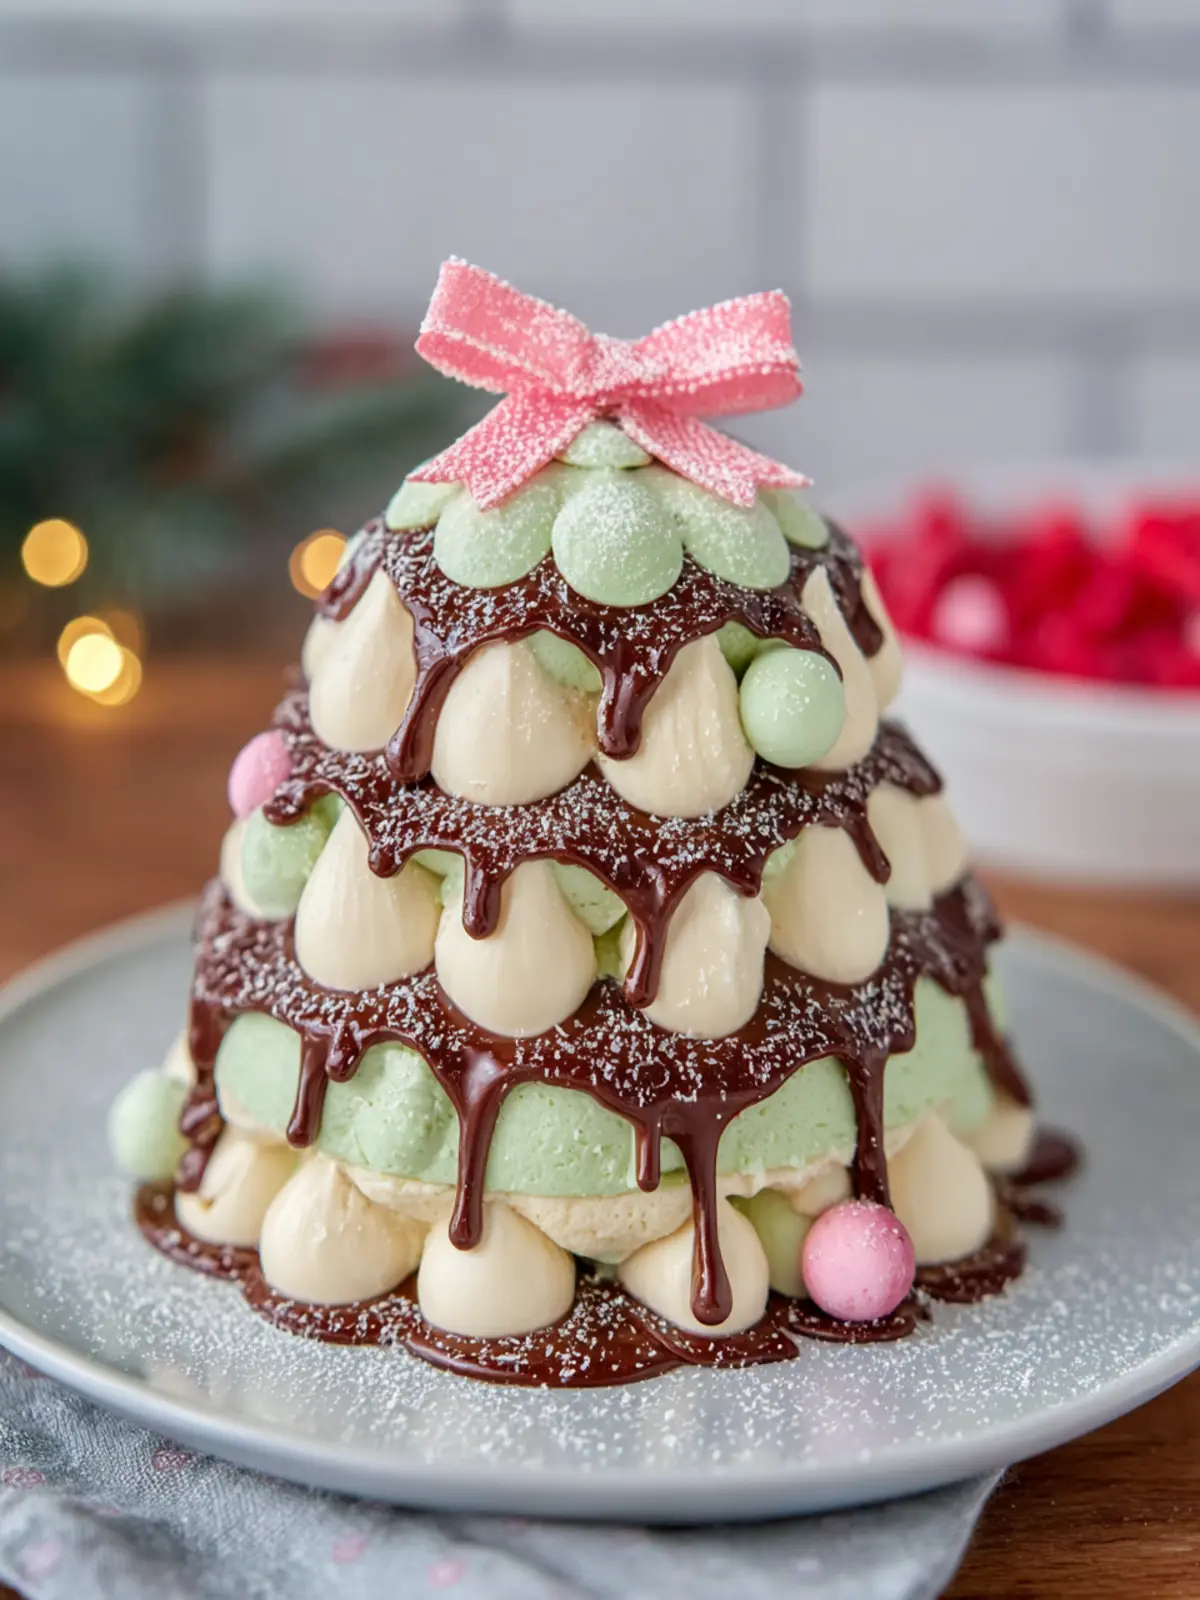
Decorated Multi-Tier Cake
- Total Time: 1 hour including cooling time
- Yield: 12 servings 1x
- Diet: Gluten-Free
Description
This decorated multi-tier cake is perfect for any occasion and features delicious homemade or box cake with a delightful frosting.
Ingredients
Scale
- 1 box of your favorite cake mix or homemade cake recipe, prepared
- 1–2 11 containers of your favorite frosting or batch of homemade frosting (*I used organic Miss Jones Baking Frosting!)
- Natural food coloring
- Natural pearl sprinkles (I used white & pink!)
Instructions
- Preheat oven according to your cake recipe’s instructions.
- Prepare your cake according to its instructions. You can use a box cake mix or homemade cake of your choice; I’ve linked some of my favorite cake recipes in the notes but I also love using Simple Mills cake mix for a paleo/gluten-free/dairy-free/refined sugar-free option!
- Grease the multi-tier cake pan WELL. Fill it about 3/4 of the way full (it’ll rise!). I usually get 1 1/2 cakes out of one box. Typically I’ll frost one for the holiday and keep the smaller one to enjoy myself, however you could decorate both for a larger and smaller cake!
- While the cakes are cooling, make your frosting. If using store-bought frosting, simply add it to a large bowl and add a few drops of natural green food coloring. I like to add just a few at a time and add more as needed until it’s the color I like.
- Remove the cakes from the pan. You can use a sharp knife to cut off the bottom of the cakes so they sit flat. Spread a light layer of frosting all over the cakes.
- Add the remaining frosting to a piping bag with a large circle tip.
- Pipe frosting in large circles on the bottom tier all around the bottom of the cake (see video). Then take the frosting knife and holding it handle-up, press the end of the knife flat into one round of frosting at a time. You’ll want to press somewhat firmly, and drag the knife upward to create the shape shown in the photo above.
- Repeat this on each round. Move to the second tier and repeat the same steps (piping rounds of frosting, then using the knife to spread it upward). When you get to the top of the cake, I like to pipe smaller rounds around the edges of the top and pipe them towards the very center of the cake. You’ll place a bow on top so it’s okay if it’s not perfect! You can also go over the same ‘leaf’ to smooth it out if it didn’t look perfect the first time.
- Add some pearl sprinkles to the ends of the ‘leaves’ and place a bow on top!
Notes
- You can use a box cake mix or homemade cake of your choice!
- I’ve linked some of my favorite cake recipes in the notes but I also love using Simple Mills cake mix for a paleo/gluten-free/dairy-free/refined sugar-free option!
- Keep an eye on the cakes to ensure they don’t over-bake.
- Let cakes cool completely before frosting.
- Prep Time: 30 minutes
- Cook Time: 25-30 minutes
- Category: Desserts
- Method: baking
- Cuisine: American
Nutrition
- Serving Size: 1 slice
- Calories: 350
- Sugar: 24g
- Sodium: 200mg
- Fat: 15g
- Saturated Fat: 6g
- Unsaturated Fat: 7g
- Trans Fat: 0g
- Carbohydrates: 50g
- Fiber: 2g
- Protein: 4g
- Cholesterol: 30mg