Follow Me On Social Media!

Polar Bear Paws: Easy, Irresistibly Chewy Treats You’ll Love
Introduction to Polar Bear Paws
When you think of polar bear paws, imagine a delightful confection that’s as fun to make as it is to eat. Originating from the cozy corners of family kitchens, these sweet treats have become a go-to favorite for gatherings and cozy nights in. With a charming combination of textures and flavors, polar bear paws capture the imagination and offer a delicious way to indulge your sweet tooth.
What are Polar Bear Paws and Why Are They Special?
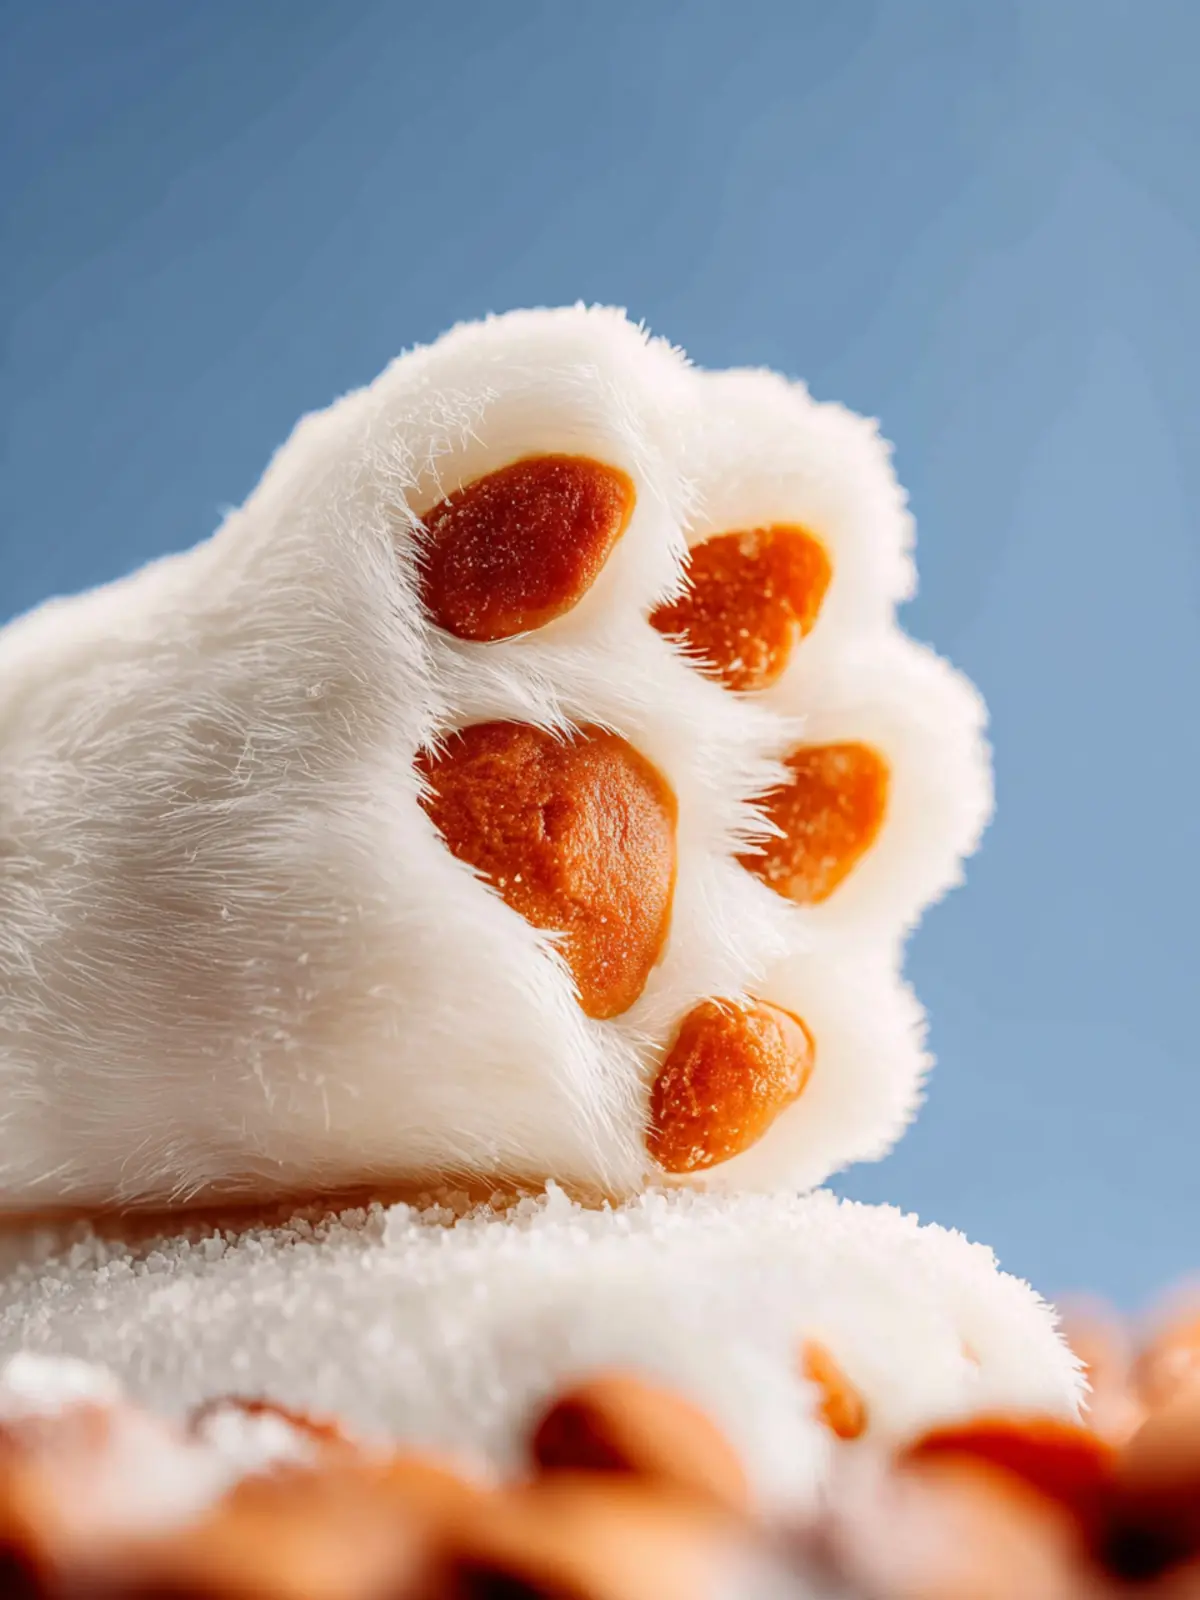
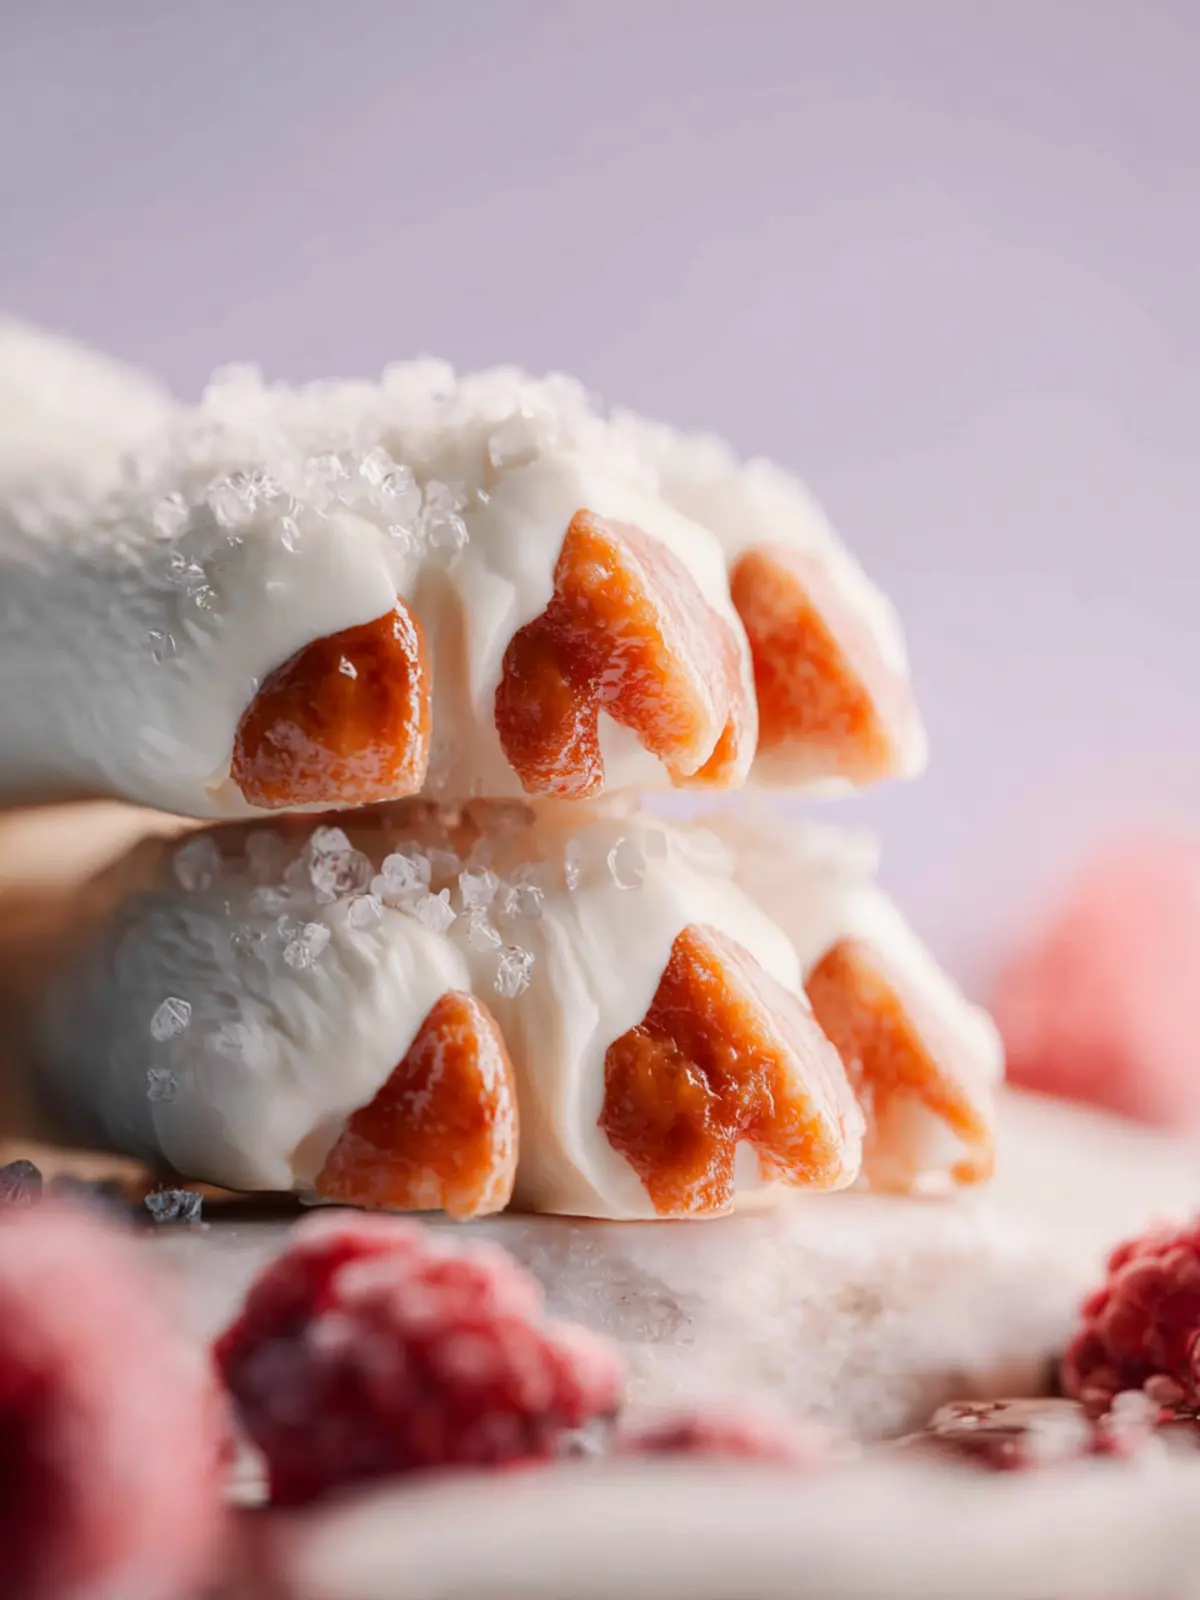
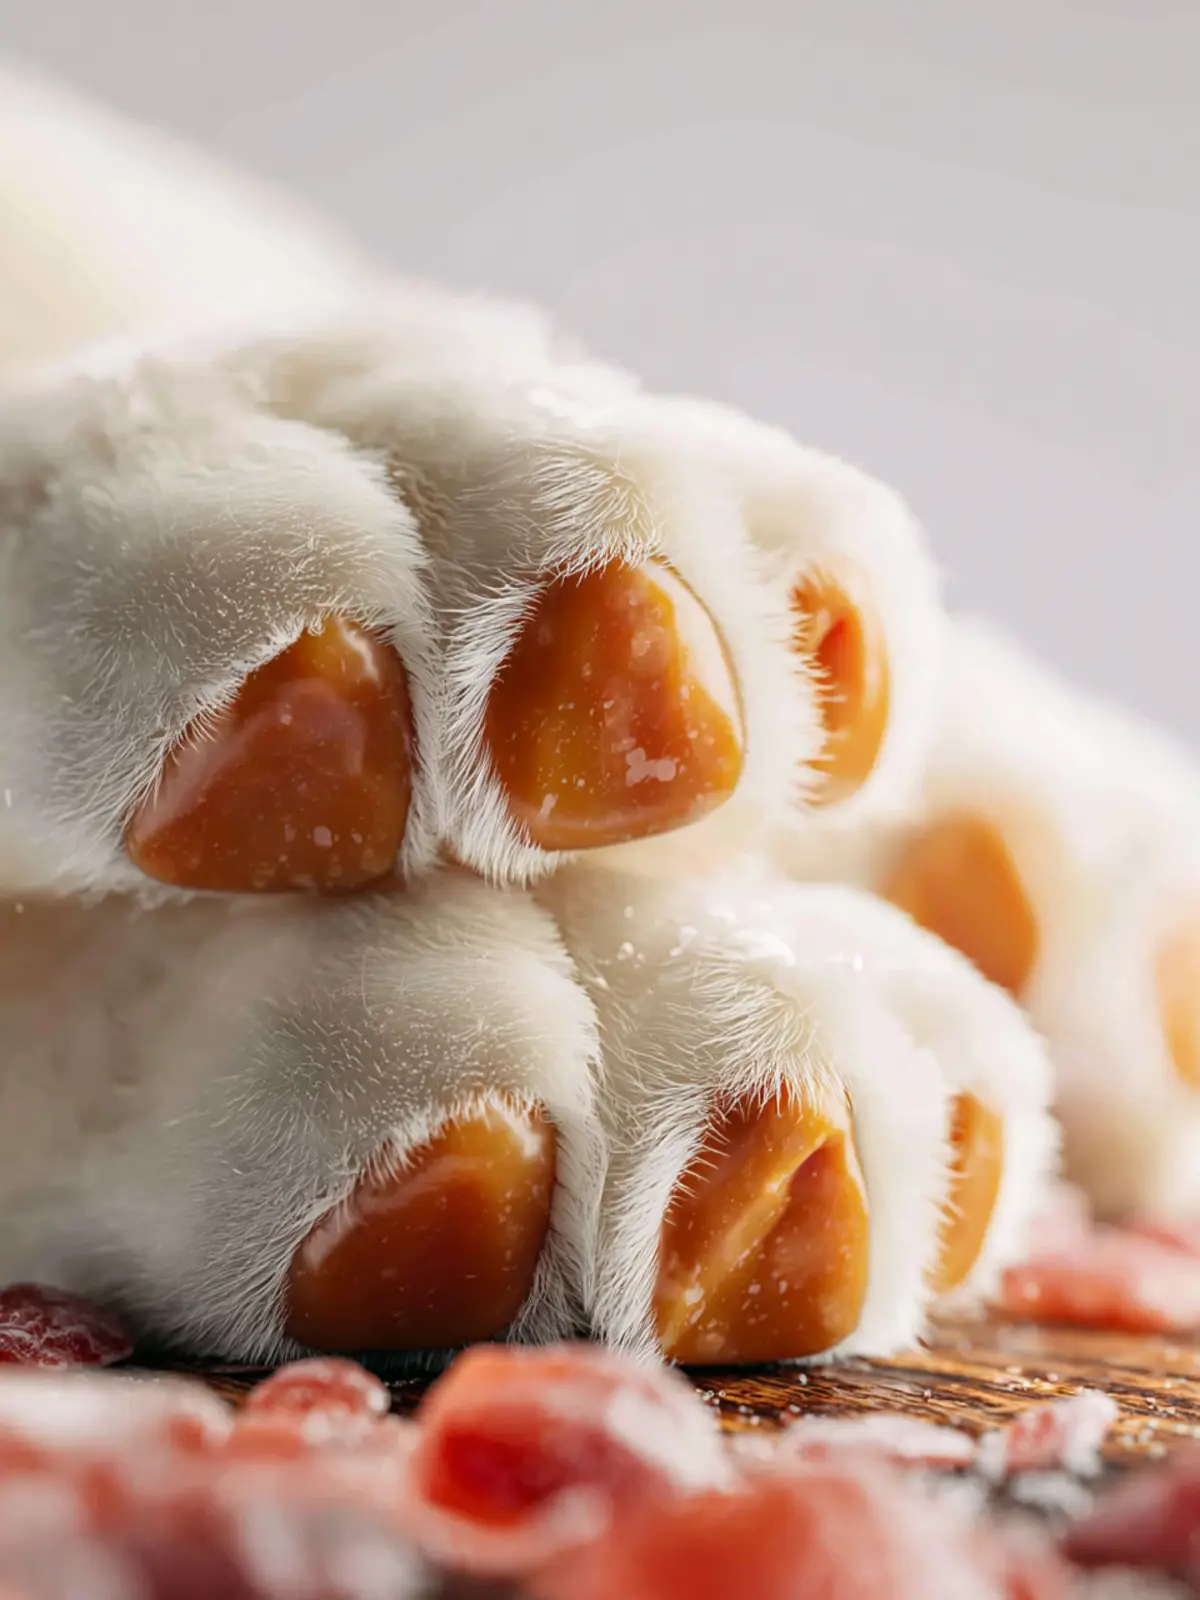
Polar bear paws are not just your typical cookie or candy; they are a magical blend of rich chocolate, creamy peanut butter, and crispy rice cereal. Each bite offers a satisfying crunch enveloped in a silky texture, creating a unique experience that’s perfect for both kids and adults alike.
-
Chocolate Coating: The outer layer of melted chocolate adds a rich depth that contrasts beautifully with the inner layers. Whether you prefer milk, dark, or even white chocolate, the choice is yours to enhance this treat to your liking.
-
Peanut Butter Flavor: A generous helping of peanut butter infuses a lovely nuttiness that elevates the entire treat. It binds the mixture beautifully, creating a moisture that balances out the crunchiness of the rice cereal.
-
Crispy Rice Cereal: Think of this as the secret ingredient—it’s the element that gives polar bear paws their signature crunch. It lightens the recipe and adds a playful texture, making each treat pop in your mouth.
Creating polar bear paws can also be a delightful activity to share with friends or family. Imagine gathering around the kitchen, mixing the ingredients, and crafting these sweet morsels together. Not only are you making a delicious treat, but you’re also building lasting memories.
So whether you’re preparing for a holiday celebration, a birthday bash, or simply wanting to whip up something sweet for movie night, polar bear paws are the perfect solution. They’re easy to make, visually appealing, and irresistibly tasty, ensuring that your next treat is both special and memorable.
Key Ingredients for Polar Bear Paws
Creating polar bear paws brings the joy of a simple, yet delicious treat to your kitchen. These delightful no-bake cookies resemble the adorable paws of a polar bear, making them perfect for gatherings or family treats. Here’s a closer look at the key components that make these cookies irresistible.
-
Chocolate Chips: I prefer using semi-sweet chocolate chips for a balanced sweetness. They melt beautifully, ensuring a smooth coating that binds the cookie together. If you want a slightly richer flavor, dark chocolate chips can elevate the taste.
-
Peanut Butter: Creamy peanut butter is the heart of these treats. It provides a nutty flavor and helps in achieving that chewy texture. Natural peanut butter works perfectly here, lending a wholesome taste without added sugars.
-
Sugar: Granulated sugar sweetens the mixture just right. It balances the nutty flavor of peanut butter and complements the chocolate, ensuring every bite is delicious.
-
Vanilla Extract: A splash of pure vanilla extract adds depth and enhances the overall flavor profile. It’s that secret ingredient that leaves everyone wondering what makes your polar bear paws so special!
-
Cereal: Crisped rice cereal adds crunch, making the texture fun and enjoyable. It holds everything together while providing that satisfying bite we all love.
These ingredients come together to create a delightful treat that’s bound to become a favorite. Enjoy crafting your own polar bear paws and share this delightful experience with friends and family!
Why You’ll Love Polar Bear Paws
Imagine sinking your teeth into a sweet, chewy treat that brings the joy of homemade desserts into your kitchen. That’s exactly what you’ll experience with polar bear paws. These delightful snacks are not just about taste; they’re built on a foundation of nostalgia that takes you back to cozy gatherings and sweet moments shared with friends and family.
Irresistible Flavor Combinations
The rich mix of ingredients comes together to create a flavor profile that’s both comforting and exhilarating. You’ll love how the combination of peanut butter, chocolate, and marshmallows tantalizes your taste buds. With every bite, there’s a playful texture—soft yet crunchy—that keeps you wanting more.
Quick and Easy Preparation
One of the best aspects of making polar bear paws is how simple it is. With just a few ingredients, you can whip up a batch in no time! This makes them perfect for spontaneous cravings or last-minute potlucks. You don’t need to be an expert baker—anyone can master this crowd-pleaser.
A Sweet Treat for Any Occasion
Whether you’re preparing a cozy night in or looking for something unique to bring to a gathering, polar bear paws fit the bill effortlessly. Their whimsical name is matched only by their delicious flavor, making them the highlight of any dessert table. Try them out and find out why these delectable treats are a favorite!
Variations of Polar Bear Paws
When you dive into making polar bear paws, you quickly discover how versatile this treat can be, allowing for some delicious variations that can cater to different tastes and preferences.
Flavor Twists
-
Chocolate Lovers: One of the simplest ways to customize your polar bear paws is to add a layer of melted chocolate on top. You can use dark, milk, or even white chocolate, depending on your preference. This rich twist enhances the treat’s flavor while adding a decadent touch.
-
Nutty Crunch: Adding chopped nuts, such as walnuts or almonds, can elevate the texture and flavor of your polar bear paws. Mixing them into the base or sprinkling on top before the chocolate sets gives you that satisfying crunch.
Alternative Ingredients
-
Coconut Flakes: For a tropical twist, consider mixing sweetened coconut flakes into the peanut butter base. This not only adds flavor but also provides a delightful chewiness that complements the creaminess of the chocolate.
-
Dried Fruits: If you’re looking to add some fruity flavor, try incorporating dried cranberries or apricots into the mix. This will introduce a burst of sweetness and a slightly chewy texture that balances the overall richness.
Themed Paws
- Festive Colors: Around holidays, you can use colored melting chocolate for a fun theme. For instance, red and green for Christmas or pastels for Easter. This not only makes for tasty treats but also adds a pop of color to your festivities.
Experimenting with these variations allows you to create polar bear paws that are uniquely yours. Whether you’re indulging in a chocolate-laden version or a fruity delight, these treats are sure to please everyone!
Cooking Tips and Notes for Polar Bear Paws
Creating polar bear paws is a delightful adventure that brings the fun of baking into your kitchen. If you’ve never made these treats before, get ready for a flavorful experience that combines rich chocolate and creamy peanut butter into a whimsical shape that kids and adults alike adore.
Choosing Your Chocolate Wisely
For the chocolate coating, I recommend using high-quality semisweet or milk chocolate chips. They melt beautifully and provide a smooth, rich layer that complements the peanut butter filling. You could even explore using dark chocolate for a more sophisticated flavor profile. Remember, the key is in the melting; a gentle heat ensures a glossy finish.
The Perfect Peanut Butter Balance
When it comes to the peanut butter filling, look for a variety that’s creamy without too much oil separation. Natural peanut butter works well, but you may need to adjust the sugar level to keep it sweet enough. I often find that a mix of crunchy and creamy adds texture to the polar bear paws, but feel free to stick with what you love.
Texture Matters
Make sure to chill your mixture before shaping; this makes it much easier to mold and form those adorable paw shapes. Also, give your paws enough time to set in the fridge after dipping in chocolate—this helps each bite maintain its structure and keeps the flavors intact.
Storage Tips for Refreshing Treats
Finally, store your polar bear paws in an airtight container in the fridge. This keeps them fresh and firm, ready to wow anyone you share them with. Trust me, baking these treats is just as enjoyable as eating them!
Serving Suggestions for Polar Bear Paws
Polar bear paws are not just a treat; they’re an experience. As you gather with friends or family, these delightful cookies can be the highlight of your gathering, sparking joy and nostalgia alike.
Pair with Fresh Beverages
Consider serving your polar bear paws alongside a warm cup of coffee or a chilled glass of milk. The rich, nutty flavors of the cookies complement both perfectly, creating a cozy indulgence. A hot chocolate, especially with whipped cream on top, adds a special touch for those chilly evenings.
Create a Dessert Platter
Want to elevate the dessert experience? Arrange your polar bear paws on a platter with an assortment of other cookies or baked goodies. Include options like chewy brownies or light sugar cookies. This not only provides variety but also makes for a visually stunning presentation.
Perfect for Special Occasions
These cookies make an excellent addition to birthday parties, holiday gatherings, or casual get-togethers. Wrap a few in a cellophane bag and tie them with a bow for thoughtful, homemade party favors. Your guests will surely appreciate the personal touch!
Enhancing your polar bear paws with these serving ideas will surely create memorable moments!
Time Breakdown for Making Polar Bear Paws
Crafting polar bear paws is easier than you might think, and understanding the time involved makes the process even more enjoyable. Here’s a handy breakdown to help you plan your baking adventure!
Preparation Time
Getting started with polar bear paws takes about 15 minutes. You’ll want to gather all your ingredients, melt the chocolate, and mix in any goodies like marshmallows and peanuts. This part is all about creativity, so feel free to get a little messy!
Setting Time
Once your mixture is combined and beautifully shaped into paws, you’ll need to let them chill in the fridge. This setting time usually takes around 30 minutes, allowing the chocolate to firm up and locks in that delicious flavor.
Total Time
When you add it all up, you’re looking at a quick and enjoyable 45 minutes to create your delightful polar bear paws. With minimal fuss and maximal sweetness, it’s the perfect treat to share with friends or savor at home. Enjoy making them!
Nutritional Facts for Polar Bear Paws
When indulging in Polar Bear Paws, it’s essential to be aware of what you’re consuming. Here’s a breakdown of the key nutritional facts that make these treats both delightful and satisfying.
Calories
Each serving of your homemade polar bear paws packs around 200 calories, making them a sweet treat that won’t break your calorie bank.
Fats
With approximately 10 grams of fat, these delightful paws are primarily derived from butter and chocolate. Choosing high-quality ingredients can elevate the experience while still keeping it enjoyable.
Sugar
You can expect around 15 grams of sugar per serving, which comes from both chocolate and added sugars. It’s all about balance, so enjoy them in moderation to satisfy those sweet cravings without overindulging.
FAQs about Polar Bear Paws
Diving into the world of polar bear paws can be both a delicious adventure and a comforting experience. These delightful treats often spark curiosity, so let’s explore some frequently asked questions to help you along the way.
Can I use another type of nut?
Absolutely! While traditional recipes often call for peanuts or almond slivers in polar bear paws, feel free to mix it up. Cashews, walnuts, or even pumpkin seeds can add a unique twist. Just keep in mind that different nuts may alter the overall flavor and texture, so choose based on your personal preference.
How should I store leftover Polar Bear Paws?
To keep your leftover polar bear paws fresh and tasty, store them in an airtight container at room temperature for up to a week. If you want to extend their shelf life, refrigerate them for up to two weeks. Just remember to bring them back to room temperature before indulging to enjoy that optimal chewy texture.
What are some fun ways to package these for gifts?
Packaging polar bear paws can be as enjoyable as making them! Consider using clear cellophane bags tied with colorful ribbons for a simple yet elegant touch. Alternatively, a decorative tin or a mason jar can make for a charming presentation. For an added personal touch, include a handwritten note with the recipe or a sweet message, making it an ideal gift for friends or family.
With these tips, your polar bear paws will not only be a treat for the taste buds but also a delightful gift to share!
Conclusion on Polar Bear Paws
In the world of delicious treats, polar bear paws hold a special place. These delightful confections bring a whimsical touch to any gathering, making them feel festive and fun. Their combination of creamy peanut butter and chocolate creates a mouthwatering contrast that’s hard to resist. Whether you’re sharing them with friends or enjoying them during a cozy night in, these treats are sure to spark smiles and create lasting memories. Plus, they are surprisingly easy to make! So, why not whip up a batch of polar bear paws today and savor the joy they bring? Happy baking!
Print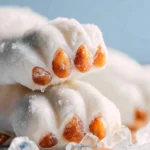
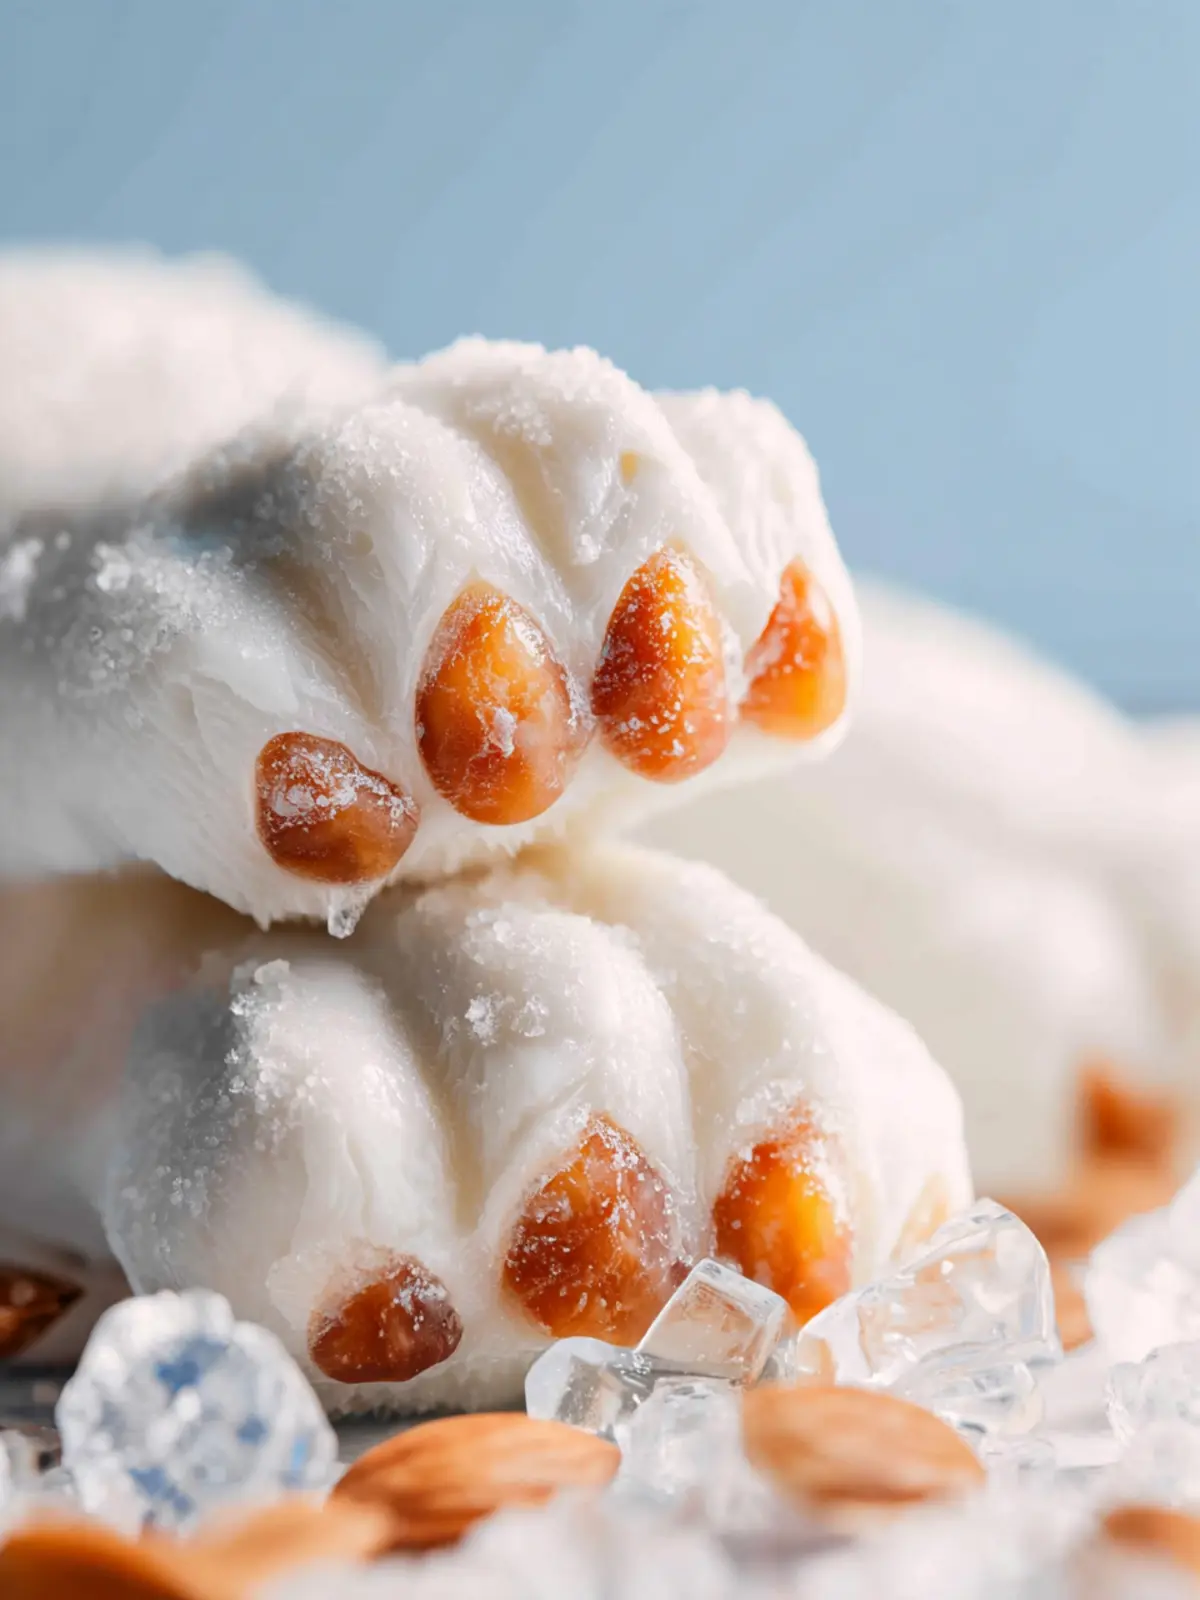
Chocolate Covered Caramel Clusters
- Total Time: 1 hour
- Yield: 24 clusters 1x
- Diet: Vegetarian
Description
Sweet and chewy caramel clusters coated in smooth white chocolate, perfect for gifting.
Ingredients
Scale
- 5 ounces soft Werther’s caramels (unwrapped, (22 caramels))
- 1 tablespoon heavy cream
- 1 cup honey roasted peanuts
- 1 cup white chocolate chips
- 1–1/2 teaspoons coconut oil
- Flaky sea salt (optional, for topping)
Instructions
- Line a large sheet pan with parchment paper and set aside.
- Add the caramels and heavy cream to a small pot set over the lowest heat. Stir constantly until completely melted. Be patient and don’t raise the heat or the caramel can turn hard or grainy.
- Remove from heat and stir in the peanuts until fully coated.
- Spoon tablespoon-sized mounds onto the prepared cookie sheet. Very lightly spray your fingers with cooking spray. Press and gently shape into small clusters. Chill in the fridge for about 30 minutes or until set.
- Add white chocolate chips and coconut oil to a small microwave-safe bowl. Microwave in 20 second bursts, stirring well for a full 20 seconds between each interval, until smooth and fully melted. Do not overheat.
- Working with one chilled caramel cluster at a time (keep the rest in the fridge), dip into the melted chocolate. Lift with a fork, tap the fork on the edge of the bowl to remove extra chocolate, then place the coated cluster back on the parchment. Repeat with all clusters. If you’d like, add a tiny sprinkle of sea salt on top.
- Place the pan back in the fridge for 30 to 60 minutes or until the chocolate is fully set. Enjoy or package for gifting!
Notes
- 1: The number of caramels can vary based on size, adjust accordingly.
- 2: Honey roasted peanuts provide a sweet and crunchy texture, regular peanuts can be used as a substitute.
- 3: Any brand of white chocolate chocolate chips can be used, choose according to personal preference.
- Prep Time: 15 minutes
- Cook Time: 15 minutes
- Category: Dessert
- Method: Stovetop, Microwave
- Cuisine: American
Nutrition
- Serving Size: 1 cluster
- Calories: 100
- Sugar: 10g
- Sodium: 50mg
- Fat: 5g
- Saturated Fat: 3g
- Unsaturated Fat: 2g
- Trans Fat: 0g
- Carbohydrates: 12g
- Fiber: 1g
- Protein: 1g
- Cholesterol: 0mg