Follow Me On Social Media!

Fat Cake Bliss: Indulge in the Ultimate Comfort Dessert
Introduction to Fat Cakes
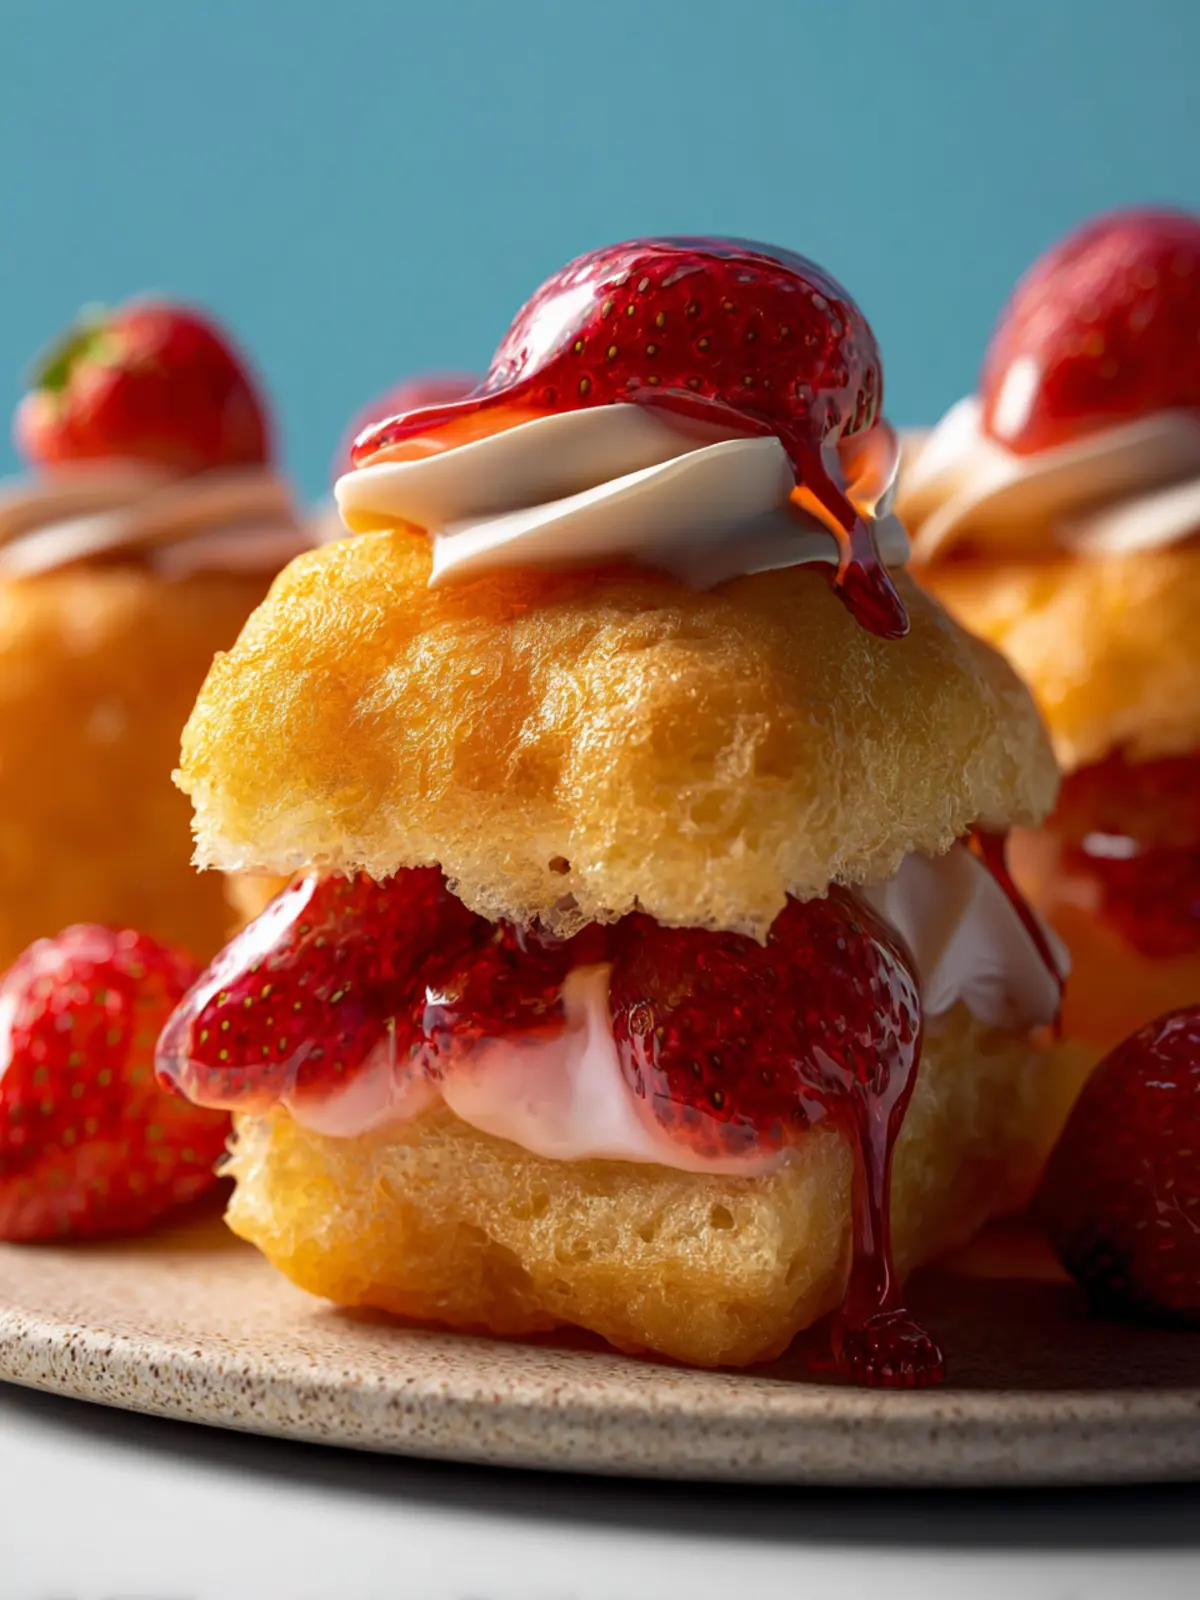
There’s something undeniably special about fat cakes, those delightful little treats that have a way of bringing joy to any gathering or quiet moment at home. Picture this: a crispy exterior yields to a soft, airy inside that’s just slightly sweet, capturing the essence of comfort in every bite. Fat cakes are not just a recipe; they are a cherished memory shared over conversations and laughter, often linked to community celebrations or family gatherings.
Developed in various cultures, these treats, also known as “fried dough,” have adapted through generations, brimming with flavors and variations that reflect local tastes. What makes these fat cakes particularly enthralling is their versatility. Serve them plain, dust them with powdered sugar, or go all out and slather them with jams—each option offers a unique twist that can easily cater to any palate or occasion.
Home baking is all about warmth and familiarity, and fat cakes capture this perfectly. They are simple to prepare, requiring just a handful of ingredients you likely already have at home. This is the charm of baking; it transforms the ordinary into the extraordinary with just a few careful techniques and loving touches. Whether you find yourself making them for a weekend brunch or a cozy evening snack, the process of mixing, frying, and enjoying these golden delights becomes an experience worth savoring.
To truly appreciate fat cakes, consider not just the end result but the rich, cultural history behind them. Many people recall a beloved family member or friend who passed down their secret recipe, each version telling its own story. Engaging with food this way creates connections that transcend generations.
Let’s dive deeper into what makes fat cakes so special and how you can whip them up in your kitchen to create your own memorable moments.
What makes Fat Cakes so special?
Fat cakes are not only cherished for their delightful taste but also for their ability to elicit nostalgia. The perfect balance of texture, sweetness, and the satisfaction of homemade goodies makes them a favorite treat among friends and family. Whether enjoyed casually or served on festive occasions, they undoubtedly leave a lasting impression. So, let’s explore the heart of this beloved recipe!
Key Ingredients for Fat Cakes
Creating a delightful fat cake begins with some essential ingredients that bring flavor and texture to this indulgent treat. Each component plays a vital role in crafting the perfect cake, inviting everyone into a warm, nostalgic moment with every slice.
Flour: I opt for all-purpose flour, as it provides the ideal structure for a moist fat cake. It helps achieve that perfect balance between fluffiness and density, ensuring the cake doesn’t crumble apart.
Butter: Rich, unsalted butter adds a luscious flavor. I prefer melting it for the batter, which creates a beautiful depth of taste and a soft crumb. Plus, it’s a childhood favorite that evokes memories of baking sessions with family.
Sugar: Using a combination of granulated and brown sugar is key. Granulated sugar adds sweetness, while brown sugar infuses a lovely caramel undertone that enhances the overall flavor.
Eggs: Fresh eggs are a must! They contribute to the cake’s rise and richness. For the best results, I recommend using large eggs since they provide the moisture needed for a tender crumb.
Baking Powder: This is essential for that delightful rise. Without it, your fat cake may turn out as flat as a pancake, and we definitely want to avoid that!
With these foundational ingredients, you’ll have a delicious fat cake that’s sure to impress friends and family alike!
Why You’ll Love This Recipe
Fat cake isn’t just a delicious treat; it carries with it a sense of nostalgia and warmth that turns any gathering into a memorable occasion. Growing up, my grandmother had a special way of making fat cake that filled the kitchen with the aromas of butter and sugar, enticing everyone to come and share in her culinary joy. This recipe is a modern take on that classic tradition, perfect for those who want to celebrate with friends or indulge in a cozy night in.
Here’s why you’re going to love making fat cake:
- Simplicity at Its Best: This recipe doesn’t require any complicated techniques—just straightforward mixing and baking. It’s perfect for both novice bakers and seasoned pros looking for a fuss-free option.
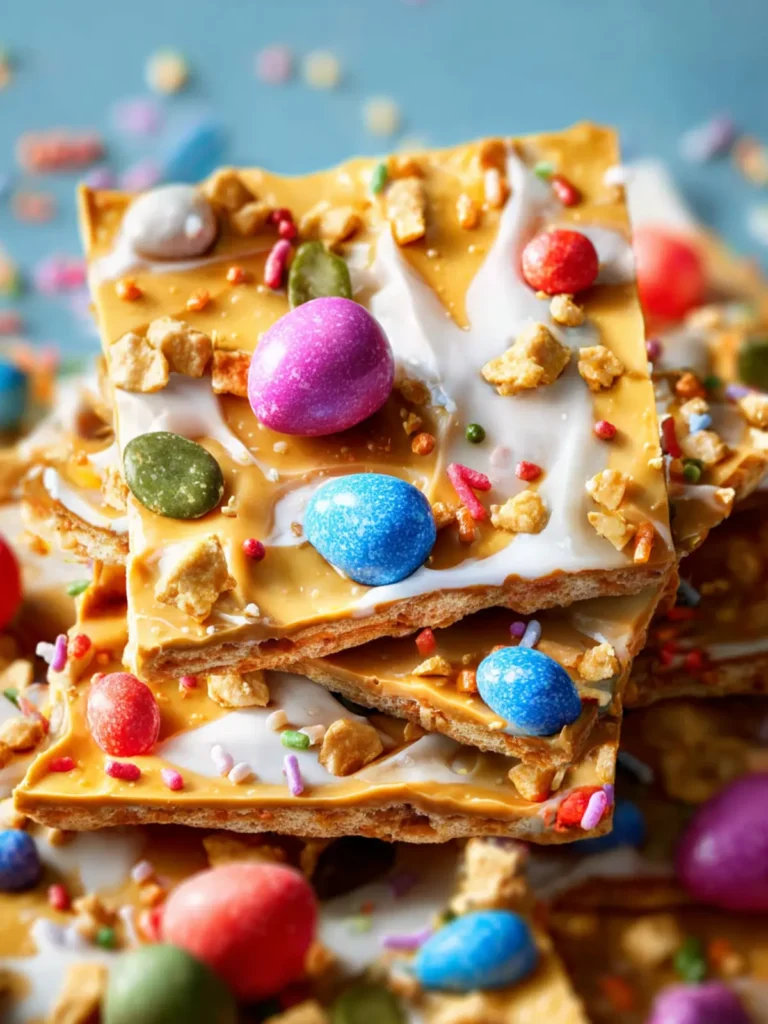
- Endless Versatility: You can enhance the basic recipe with various flavors and add-ins, like chocolate chips, nuts, or even your favorite fruits, allowing you to customize it to your heart’s delight.
- A Crowd-Pleaser: Fat cake is universally loved. Whether you’re serving it at a birthday party, a holiday gathering, or just a casual get-together, it’s bound to bring smiles and compliments from everyone who tries it.
Ultimately, this is more than just fat cake; it’s a warm embrace from the past that invites you to create your own sweet memories.
Variations for Fat Cakes
Fat cakes are wonderfully versatile treats that can be adapted to suit various tastes and occasions. Here are some creative variations to elevate your baking game:
Flavor Boosts
- Citrus Zest: A sprinkle of lemon or orange zest adds a refreshing zing to your fat cake. It balances the sweetness and enhances the overall flavor.
- Extracts: Swap out vanilla extract for almond or coconut extract. Each brings a unique twist that can redefine your simple fat cake recipe.
Add-ins for Texture
- Nuts: Chopped walnuts or pecans can introduce a lovely crunch. Just a handful folded into the batter can transform the eating experience!
- Chocolate Chips: Who doesn’t love a chocolatey treat? Mix in semi-sweet or dark chocolate chips for a rich, indulgent flair.
Toppings and Swirls
- Frostings: A simple cream cheese frosting can enrich your fat cake without overwhelming it. Alternatively, whipped cream or a dusting of powdered sugar can keep it light.
- Swirls: Go wild with fruit preserves or Nutella. Just swirl them into the batter before baking for unexpected bursts of flavor.
Healthy Alternatives
- Whole Wheat Flour: For a nuttier flavor and added fiber, consider using whole wheat flour instead of all-purpose flour.
- Natural Sweeteners: Replace granulated sugar with honey or maple syrup for a natural sweetness that can make your fat cake more wholesome.
These variations will not only keep your baking fresh but will also give you a chance to showcase your creativity. So, grab those ingredients and start experimenting!
Cooking Tips and Notes for Fat Cakes
Creating a delightful fat cake is more than just following a recipe; it’s about immersing yourself in the experience. Imagine the aroma wafting through your kitchen as you whip up this delicious treat. Here are some tips to elevate your baking game and ensure your fat cakes turn out perfectly every time.
Choose the Right Flour
Using the right flour is crucial. All-purpose flour works wonderfully in fat cake, giving it the right balance of texture and flavor. If you prefer a lighter option, consider using cake flour, which will yield a more tender crumb.
Perfect Your Mixing Technique
When mixing your ingredients, avoid overmixing the batter once you add the flour. Gently fold the ingredients together until just combined. This will help maintain a light and airy fat cake, preventing it from becoming dense.
Mind Your Baking Time
Keep a close eye on your cake while it’s baking. Ovens can vary, so start checking for doneness about five minutes before the suggested baking time ends. A toothpick inserted into the center should come out clean, but if you notice it sticking, give it a few more minutes.
Let It Cool Properly
Once out of the oven, allow your fat cake to cool in the pan for about ten minutes before transferring it to a wire rack. This prevents it from breaking apart and helps maintain its beautifully baked structure.
With these tips in mind, you’ll be well on your way to creating mouthwatering fat cakes that make every occasion special. Enjoy the process, and don’t forget to share the results with friends and family!
Serving Suggestions for Fat Cakes
Fat cakes are deliciously versatile, making them perfect for various occasions. Imagine a cozy weekend brunch with friends or a casual afternoon tea; these cakes can elevate any gathering. To serve them perfectly, consider the following ideas:
-
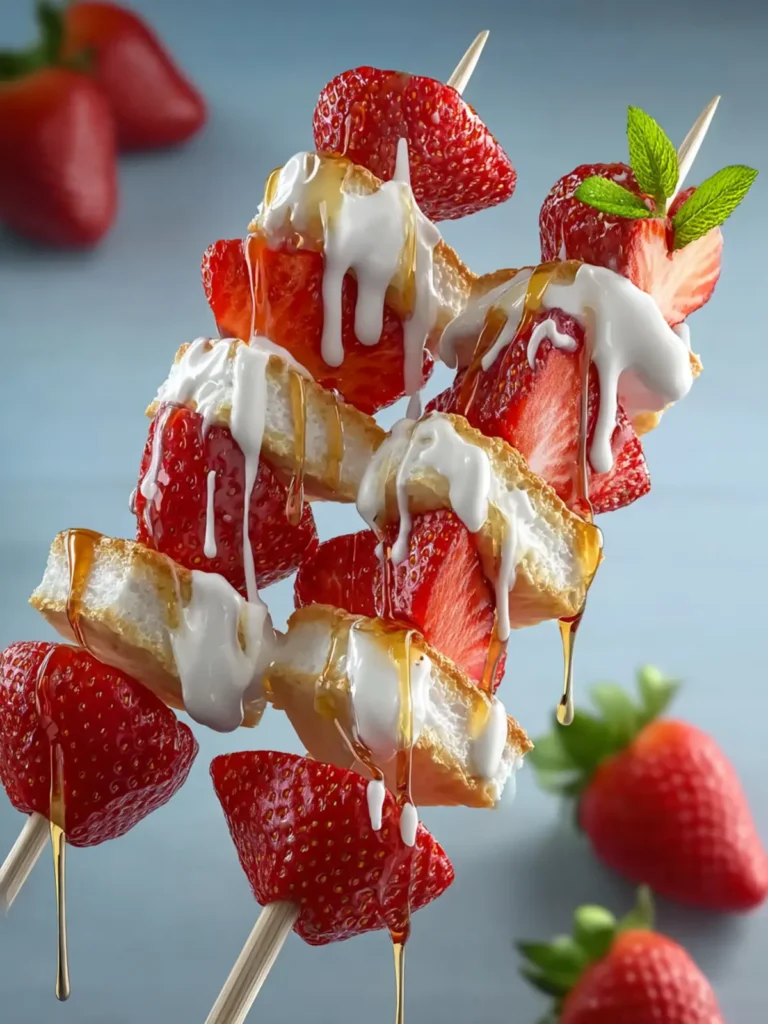
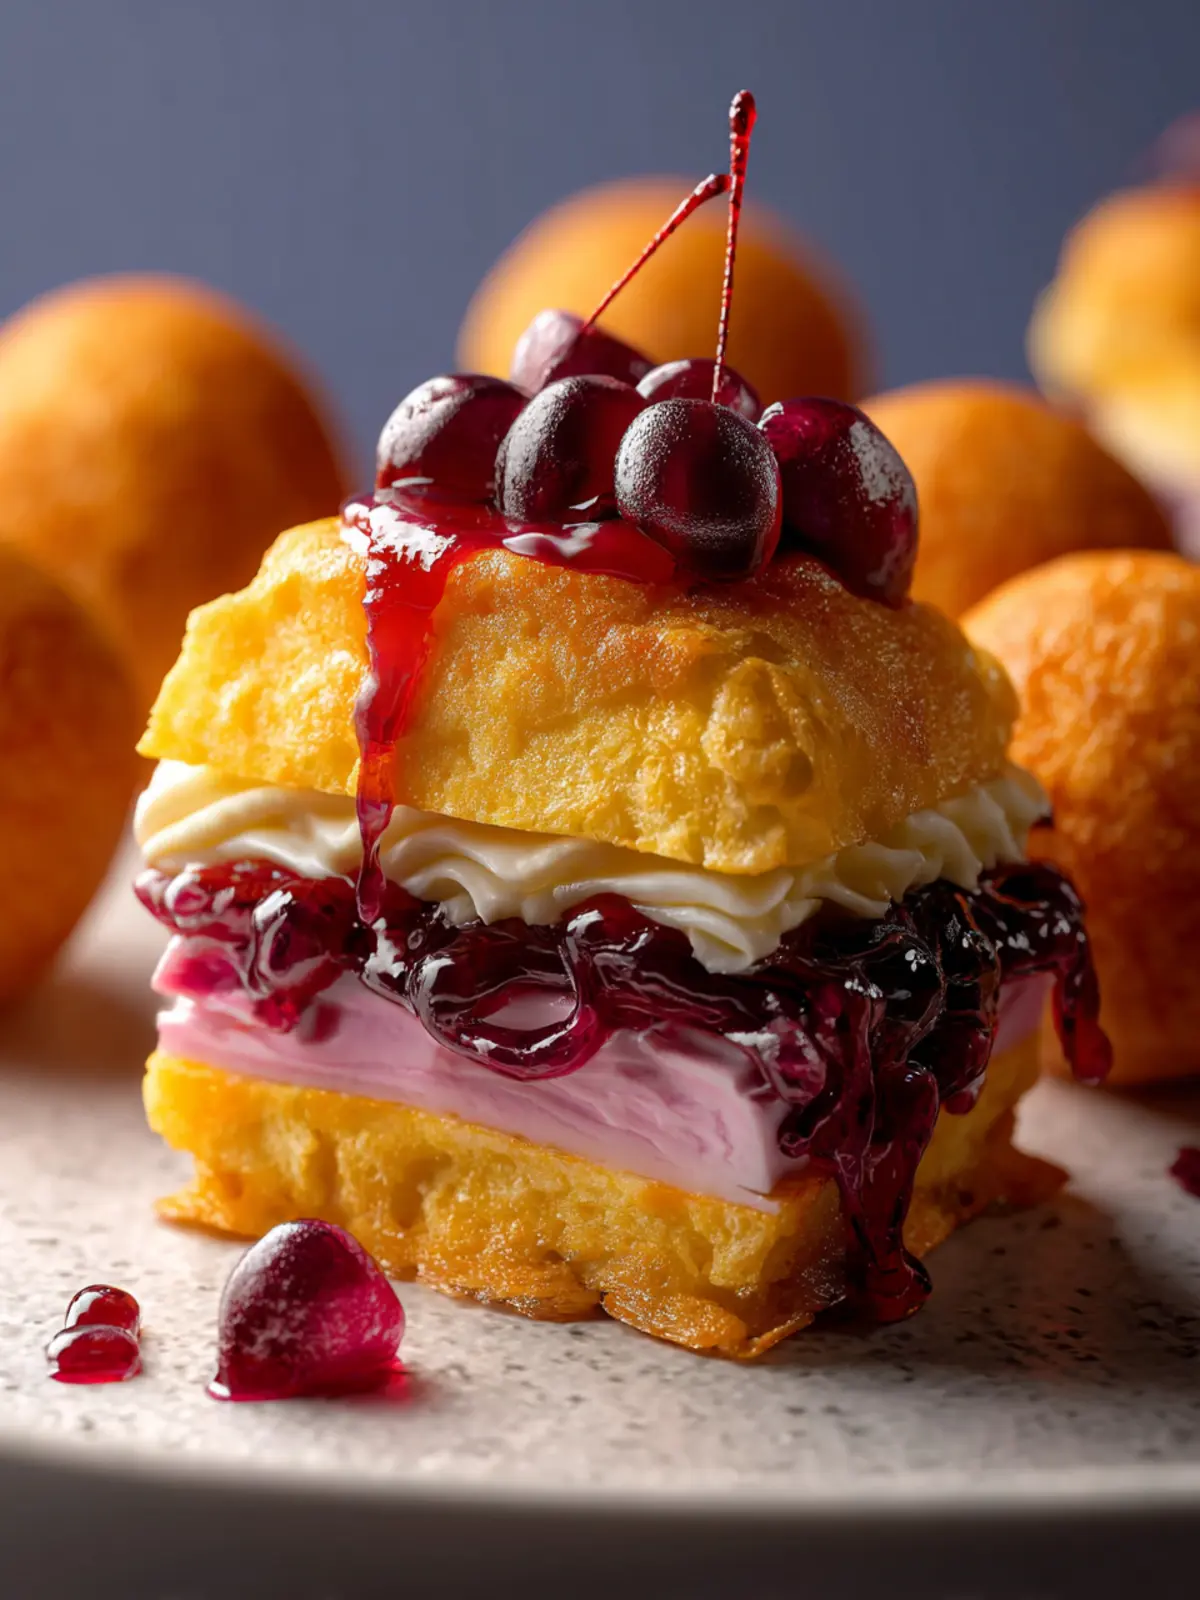
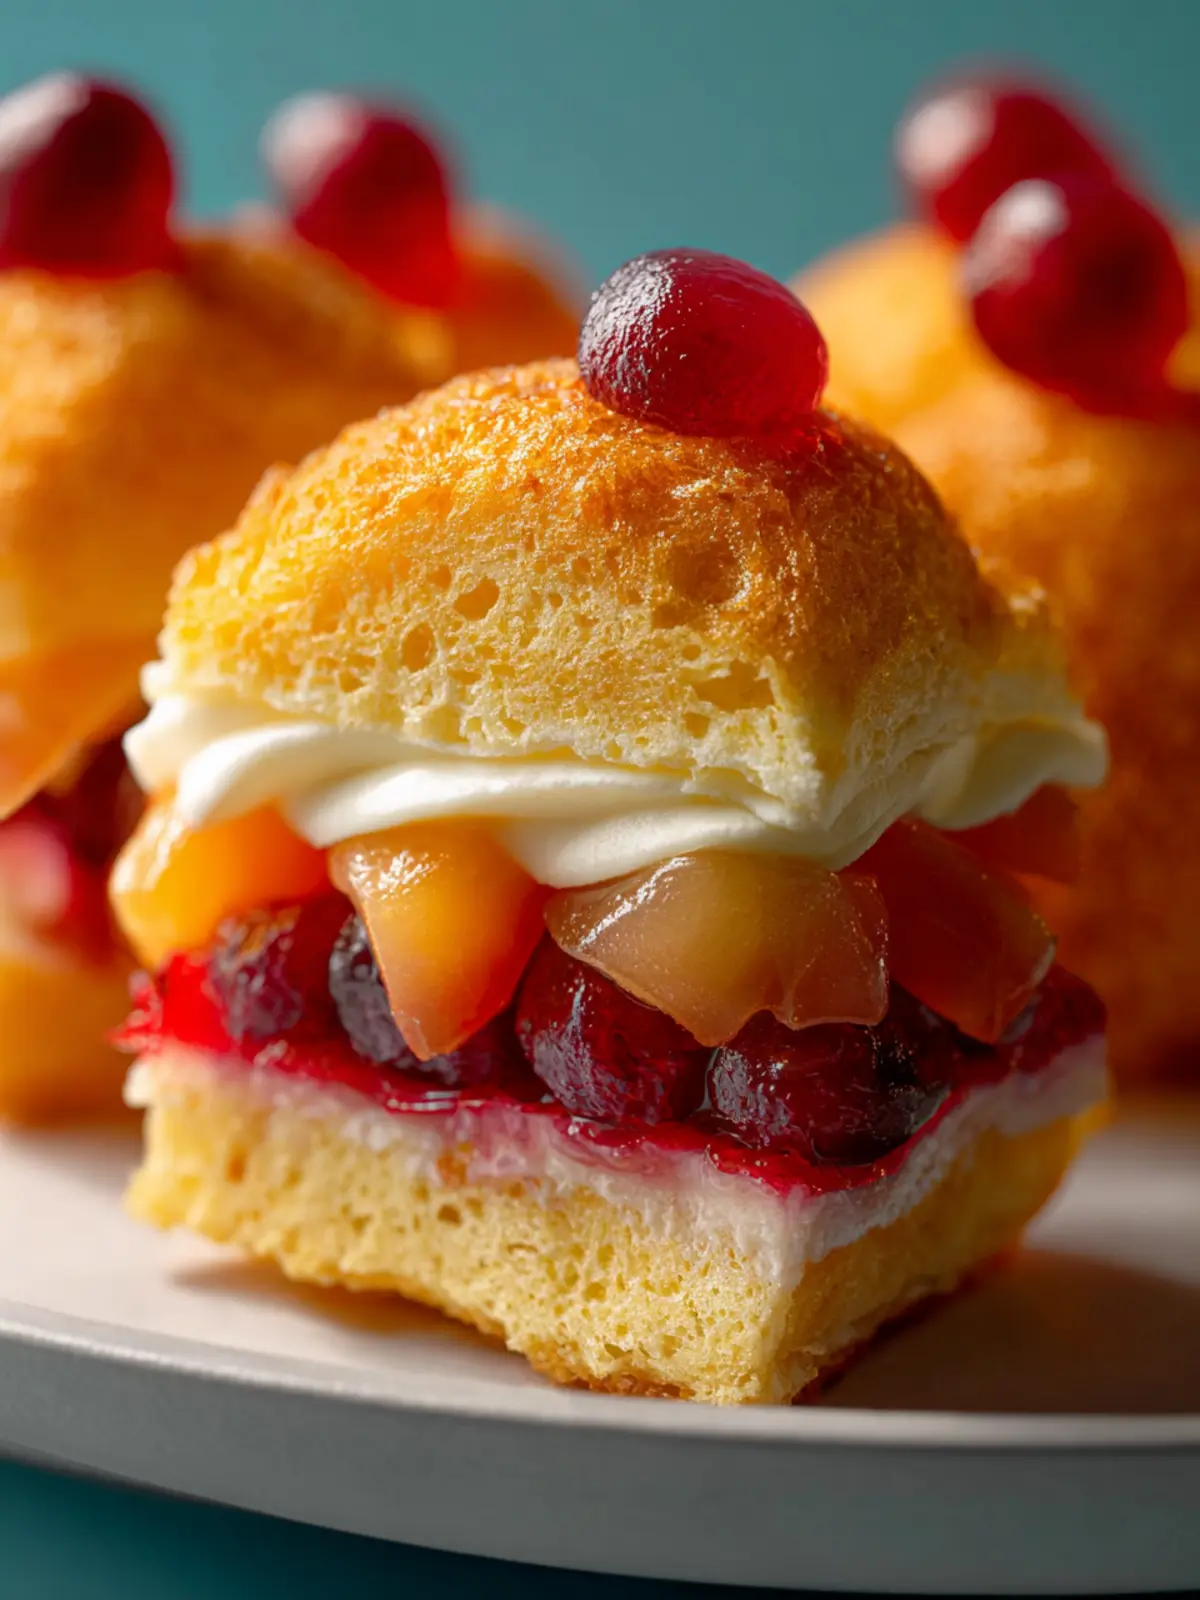
Accompaniments: Pair your fat cakes with fresh fruit, like sliced strawberries or blueberries. The tartness and color contrast beautifully with the sweet, rich flavors of the cake.
-
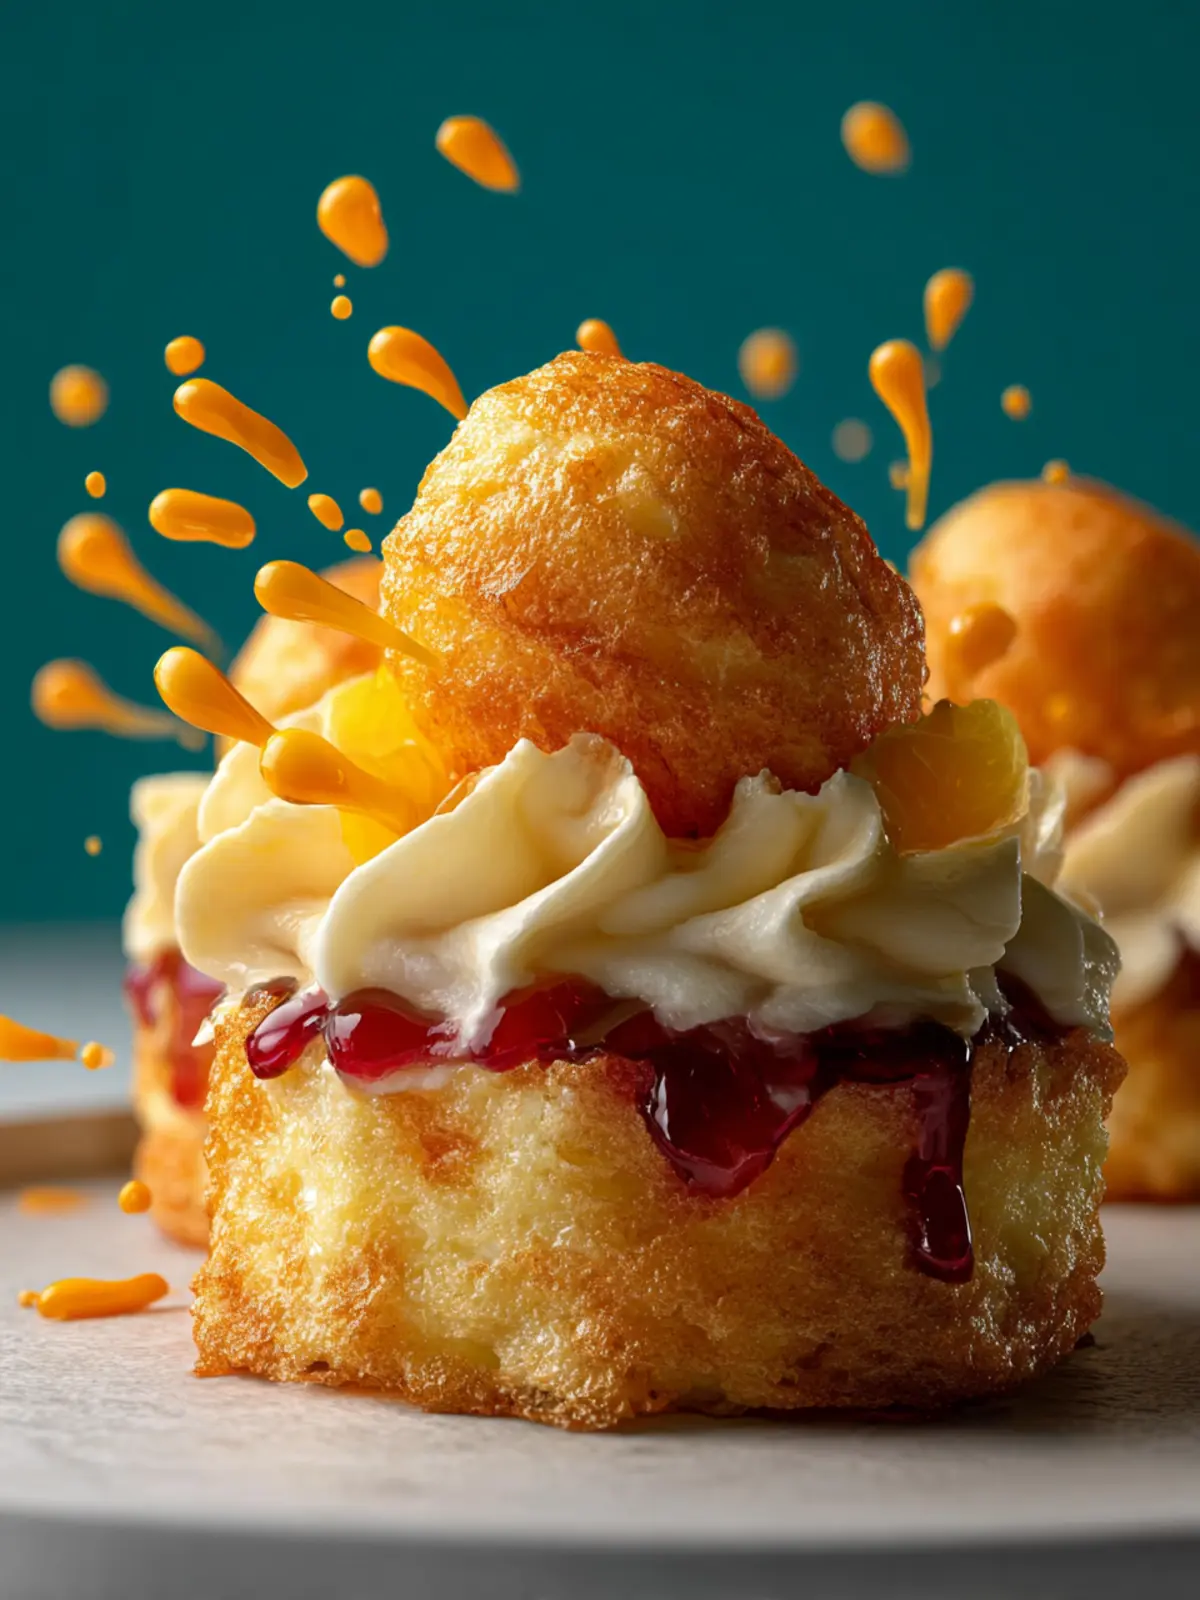
Creamy Toppings: A dollop of whipped cream or a scoop of vanilla ice cream adds a delightful creaminess that complements the cake’s texture.
-
Drizzles and Sauces: Drizzle a bit of chocolate ganache or a homemade caramel sauce on top to amp up the indulgence. A sprinkle of powdered sugar just before serving adds a charming touch.
-
Beverage Pairing: Enjoy your fat cakes with a cup of coffee or tea. The warmth and richness of these beverages enhance the cake experience, making it feel cozy and inviting.
Whether you keep it simple or dress it up, serving your fat cakes thoughtfully will create a memorable experience for everyone.
Time Breakdown for Fat Cakes
Creating delicious fat cakes is an art that requires patience, but knowing how to allocate your time can make the process smooth and enjoyable. Let’s dive into the timing aspects of making these delightful treats!
Preparation Time
Getting started with your fat cake recipe typically takes about 15-20 minutes. This is where you’ll gather your ingredients, mix them, and shape your cakes, ensuring that everything is prepped perfectly.
Rising Time
After your dough is ready, let it rise for 30-40 minutes. This step is crucial for achieving that fluffy texture we all love in fat cakes! A warm place is best for helping the dough to double in size.
Frying Time
Once the dough is ready, frying each cake will take about 3-4 minutes per side. Monitor the heat to make sure they cook evenly and attain that golden-brown color that makes fat cakes irresistible.
Total Time
In sum, including preparation, rising, and frying, expect to spend around 1 to 1.5 hours to create your perfect batch of fat cakes. The time spent is well worth the delicious results!
Nutritional Facts for Fat Cakes
Making a delicious fat cake isn’t just about savoring its rich flavor; it’s also about understanding its nutritional profile. As you indulge in this delightful treat, here’s what you can expect in every delightful slice.
Calories
Each serving of a fat cake typically contains around 300-400 calories. These calories fuel your energy while allowing you to enjoy a moment of sweetness.
Protein
A slice provides approximately 5-7 grams of protein. While this may not be your primary source of protein, every little bit helps when it comes to adding to your daily intake.
Carbohydrates
You’ll find around 45-55 grams of carbohydrates per serving. This is mainly due to the flour and sugar, which contribute to that irresistible sweetness and texture.
Fat
As the name suggests, a fat cake has about 15-20 grams of fat per slice, mostly from butter and other fats used in the recipe. This helps create that decadent, moist texture that we all love.
FAQ about Fat Cakes
Discovering the delightful world of fat cakes opens up a treasure trove of questions, and we’re here to help you navigate through them! Whether you’re a first-time baker or a seasoned enthusiast, understanding the nuances of storing and serving these sweet treats can enhance your experience.
How do I store leftover fat cakes?
To keep your fat cakes fresh and delicious, wrap them in plastic wrap or store them in an airtight container. This helps prevent them from drying out and maintains their soft texture. Ideally, they should be stored at room temperature if you plan to consume them within a couple of days. If keeping them longer, refrigerating is a good option, but bring them back to room temperature before serving for the best taste.
Can I freeze fat cakes?
Absolutely! Freezing fat cakes is a great way to extend their shelf life. Allow them to cool completely, then wrap each cake tightly in plastic wrap and place them in a freezer-safe bag. They can last for up to three months in the freezer. When you’re ready to enjoy them, simply thaw them at room temperature or warm them briefly in the oven.
What can I serve with fat cakes?
Consider serving your fat cakes with a dollop of whipped cream, a scoop of vanilla ice cream, or a drizzle of chocolate sauce for an indulgent treat. Fresh fruits like berries or a side of yogurt also add a refreshing contrast to their sweetness.
Are fat cakes suitable for special diets?
While fat cakes are packed with traditional ingredients, accommodating special diets is possible with some creative tweaks. For gluten-free options, substitute regular flour with a gluten-free blend. If you’re looking for a lower-sugar option, explore using natural sweeteners like honey or maple syrup. Always double-check ingredient labels if you have specific dietary restrictions in mind.
With these tips, you’re equipped to enjoy your fat cakes long after they come out of the oven. Happy baking!
Conclusion on Fat Cakes
In wrapping up our delightful journey into the world of fat cakes, it’s clear that this rich and comforting treat has a special place in the hearts of many. Whether shared at gatherings or enjoyed as a solo indulgence, the layers of flavor and texture create an experience worth savoring. Remember, personalizing your fat cake with unique ingredients can elevate it further, making it a reflection of your taste. So, don your apron, gather your friends or family, and let the kitchen magic unfold! The next time you crave a sweet escape, this recipe will undoubtedly bring warmth to your home.
Print
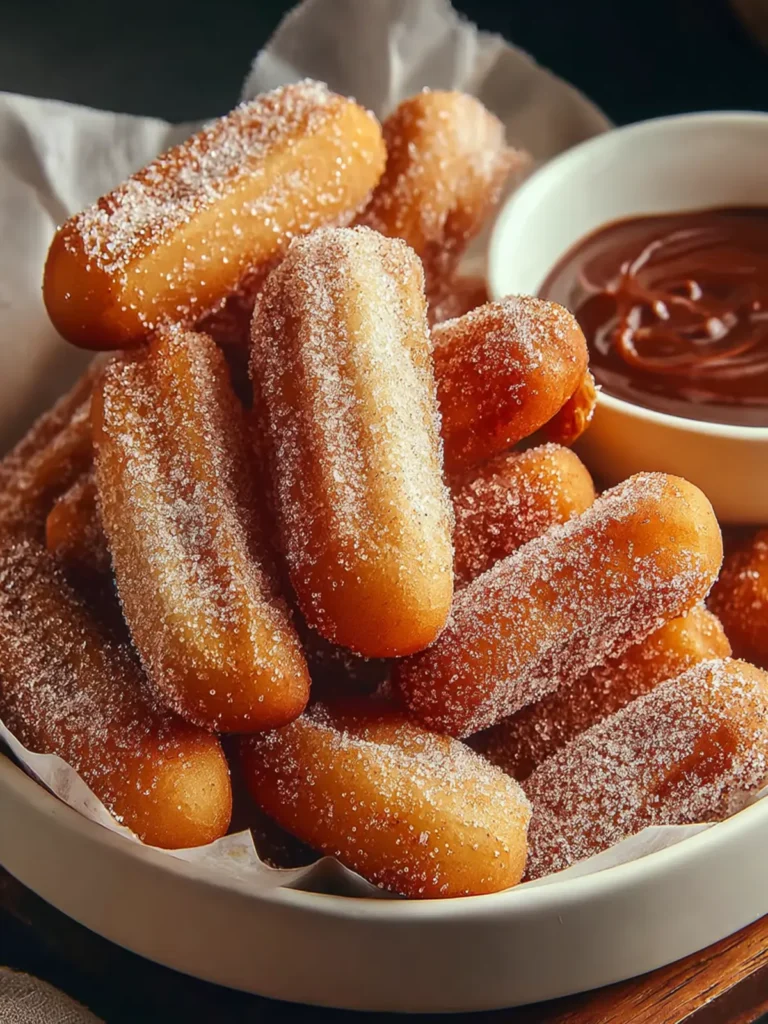
Fried Dough Balls
- Total Time: 2 hours 35 minutes
- Yield: 24 dough balls 1x
- Diet: Vegetarian
Description
These delicious fried dough balls are perfect for any occasion, with a sweet flavor and a crispy exterior.
Ingredients
Scale
- 4 cups bread flour
- 4 teaspoons dry active yeast
- 7 tablespoons granulated sugar
- 1 ½ teaspoons salt
- 1 ½ cups lukewarm water
- 2 quarts fry oil (canola, sunflower, peanut, or safflower)
Instructions
- Place 2 tablespoons sugar and the dry active yeast in the bowl of a large stand mixer. Add lukewarm water to the bowl, and allow the mixture to foam for 10 minutes, to activate the yeast. Water that is too warm will kill the yeast, causing it to not rise. Make sure the water is just barely warmer than the temperature of your skin.
- Add the remaining sugar and salt to the yeast mixture. Then place a bread hook on the mixer and turn on low. Slowly add the 4 cups of bread flour to the mix. Once the dough comes together allow it to knead for 5 minutes. That dough will be wet and tacky. If it looks dry, add a little more water to the dough.
- Remove the bread hook and cover the bowl with plastic wrap. Then allow it to rise for 1 to 2 hours, until double in size.
- Once the dough has risen, set a large pot over medium to medium-low heat. Attach a cooking thermometer to the side of the pot and pour in the oil. Allow the oil to rise to 350°F. Place a plate lined with paper towels on the side of the stove.
- Once the oil is at the right temperature, use a 1 ½ to 2 tablespoon scoop to portion out pieces of the wet dough. Dunk the scoop in the fryer oil, if needed, to coat it so that the dough does not stick to the scoop. Place the balls into the fry oil and rotate immediately. Continue to portion out balls of dough, gently placing them in the fryer oil.
- Use a skimmer to rotate the balls throughout the cooking process so that they are evenly golden on all sides. Cook for 4-5 minutes until a fork inserted into the center of one ball comes out clean. The temperature will drop once the dough balls are in the oil. This is a good thing! Adjust the temperature to keep the oil around 320°F if possible.
- Use the skimmer to move the fried fat cakes to the plate. Repeat with the remaining dough, dunking the scooper into the fry oil as needed.
Notes
- Ensure the water temperature is just above body temperature to activate the yeast.
- Frying at the correct oil temperature is crucial for golden, crispy dough balls.
- Prep Time: 15 minutes
- Cook Time: 20 minutes
- Category: Dessert
- Method: Frying
- Cuisine: American
Nutrition
- Serving Size: 2 dough balls
- Calories: 150
- Sugar: 5g
- Sodium: 150mg
- Fat: 8g
- Saturated Fat: 1g
- Unsaturated Fat: 5g
- Trans Fat: 0g
- Carbohydrates: 18g
- Fiber: 1g
- Protein: 3g
- Cholesterol: 0mg